DIY Self-Leveling Concrete: Top Three Tips
To achieve a smooth finish with DIY self-leveling concrete, follow these top tips. First, prep your surface thoroughly by cleaning, patching holes, and applying a suitable primer. Second, mix the concrete precisely by following the exact water-to-mix ratio and using a paddle mixer to achieve a smooth, thick batter consistency. Finally, pour the mixture starting from the farthest corner and use a gauge rake to spread it evenly, ensuring a flawless finish. For additional steps and detailed advice, you'll find more useful insights ahead.
Understanding Self-Leveling Concrete
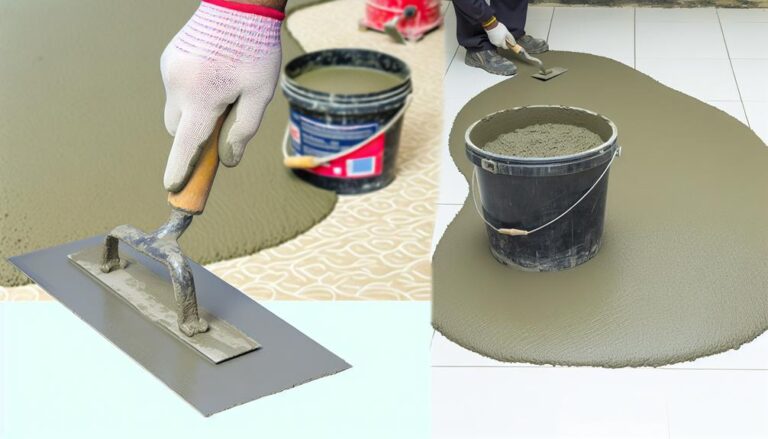
Self-leveling concrete is a specialized mixture designed to flow and spread easily, creating a smooth, flat surface without the need for extensive finishing. You'll find it incredibly useful for various projects, especially when you need to cover large areas quickly and evenly. Unlike traditional concrete, it's formulated to have a lower viscosity, which means it can self-level when poured, saving you time and effort.
When you're working with self-leveling concrete, you'll notice it's a bit different from the regular stuff. It usually consists of a blend of cement, fine aggregates, and special polymers that enhance its fluidity and bonding properties. This makes it perfect for filling in low spots, smoothing out uneven floors, and even encapsulating radiant heating systems.
One of the key benefits is its quick setting time. Most self-leveling concretes can be walked on within a few hours, and they're fully cured in about 24 hours. This makes it an excellent choice for projects where you need to minimize downtime.
Additionally, it's compatible with a variety of floor coverings like tile, carpet, and hardwood, making it a versatile solution for your DIY needs.
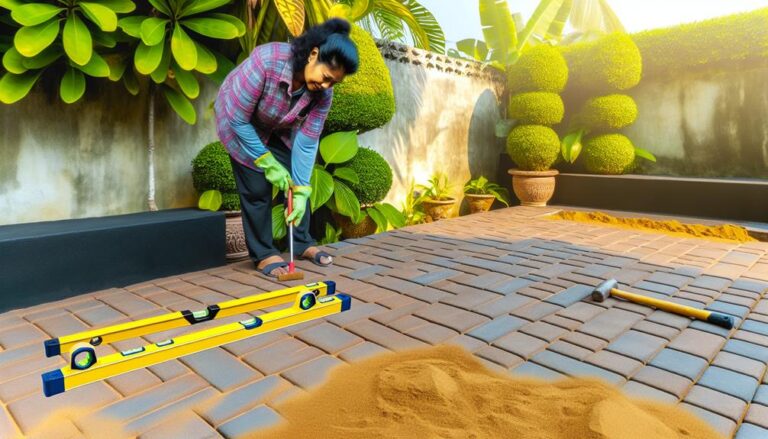
Preparing Your Surface
Before you start pouring self-leveling concrete, you'll need to make certain your surface is properly prepared to achieve the best results. First, thoroughly clean the area. Remove any dirt, dust, or debris using a broom and vacuum. Any remnants can prevent the concrete from bonding well, so take your time with this step.
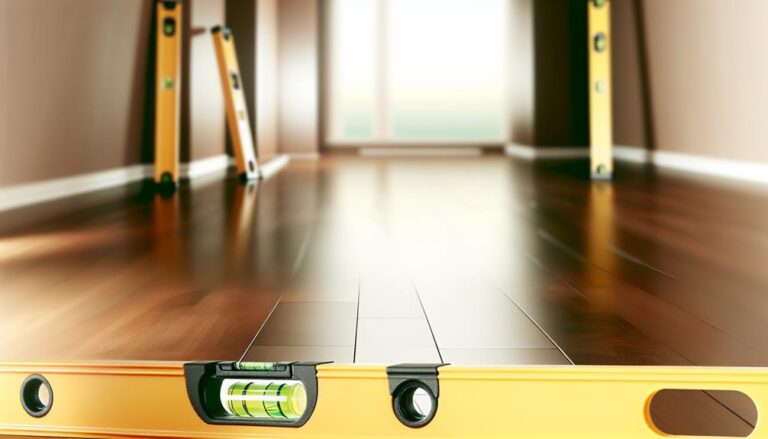
Next, address any cracks or holes in the existing surface. Fill these with a suitable patching compound and let it dry completely. Uneven surfaces can cause issues with leveling and weaken the finished product. Once patched, sand down any rough spots to create a smooth, even base.
After cleaning and patching, apply a primer specifically designed for self-leveling concrete. Priming guarantees that the concrete adheres correctly and prevents moisture from seeping through. Use a paint roller to apply the primer evenly across the surface. Allow it to dry according to the manufacturer's instructions, usually a few hours.
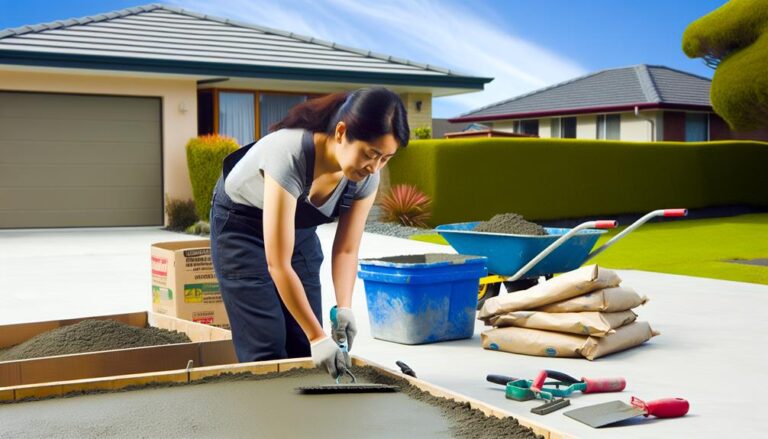
Mixing the Concrete
To achieve the perfect consistency for your self-leveling concrete, follow the manufacturer's mixing instructions carefully. Begin by gathering all necessary tools and materials, such as a mixing bucket, a drill with a paddle mixer attachment, and, of course, your self-leveling concrete mix.
You'll want to measure the exact amount of water specified on the packaging. Pour the water into the mixing bucket first, then gradually add the dry mix while stirring continuously. Mixing thoroughly is essential to avoid lumps and guarantee a smooth, homogenous mixture. Typically, you should mix for about 3-5 minutes until the texture resembles a thick pancake batter.
Here's a helpful table to summarize the steps:
| Step | Description |
|---|---|
| 1. Gather | Tools: bucket, drill, paddle mixer |
| 2. Measure | Exact water amount as per instructions |
| 3. Pour | Water first, then slowly add dry mix |
| 4. Mix | Stir continuously for 3-5 minutes |
Avoid adding extra water, as this could compromise the integrity of the concrete. If you're working in a large area, consider mixing smaller batches to maintain workability. Don't forget to periodically scrape the sides of the bucket to incorporate all the dry material. Following these steps will guarantee your self-leveling concrete is perfectly mixed and ready for the next phase.
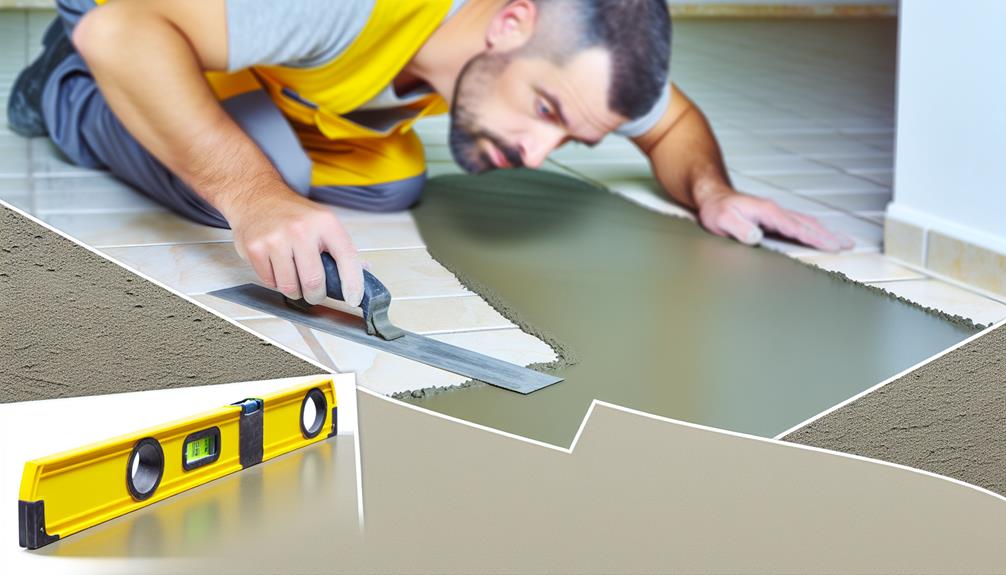
Pouring Techniques
When pouring self-leveling concrete, make certain you start at the farthest corner of the room and work your way towards the exit. This guarantees you don't get trapped and allows for a smooth, uninterrupted pour.
Hold the bucket close to the ground to minimize splashing and pour steadily. It's essential to pour the concrete in a continuous motion to avoid creating seams or ridges.
As you pour, use a gauge rake to help spread the concrete evenly. Keep the rake at a consistent height to maintain the desired thickness.
If you're working in a large area, you might need a helper to mix and pour simultaneously, ensuring the concrete doesn't start to set before you've finished spreading.
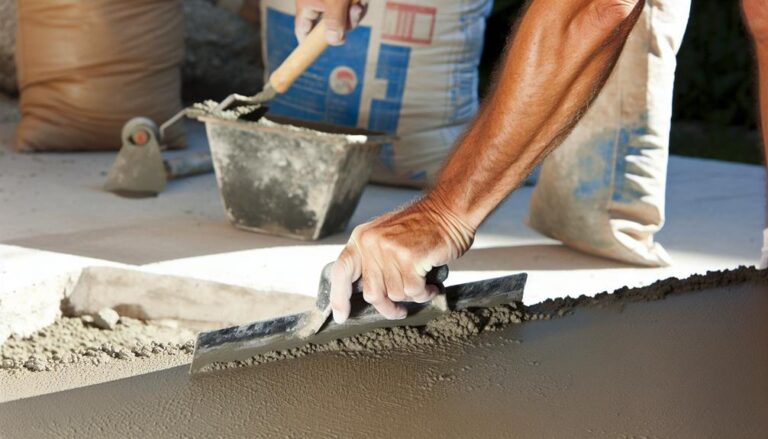
Once the concrete is poured, use a smoothing tool or trowel to help level it out. Move the tool in a gentle, sweeping motion across the surface. This helps to eliminate any bubbles and guarantees a flat, even finish.
Be mindful of the working time of your concrete mix; you'll need to work efficiently to achieve the best results. Always follow the manufacturer's instructions for optimal performance.
Finishing Touches
After pouring and smoothing the self-leveling concrete, it's time to focus on the essential finishing touches that will secure a flawless, durable surface. First, make sure proper curing. Cover the concrete with a plastic sheet or damp curing blanket to retain moisture. This step is pivotal as it prevents cracks and secures the concrete reaches its full strength. Leave the cover on for at least 24 hours, or follow the manufacturer's instructions.
Next, inspect the surface for any imperfections. Look for air bubbles or uneven spots that may have formed. If you notice any, gently sand them down with fine-grit sandpaper. Be careful not to sand too aggressively; you want to smooth out the surface without compromising the integrity of the concrete.
Frequently Asked Questions
How Long Does Self-Leveling Concrete Take to Cure Completely?
Did you know 90% of self-leveling concrete reaches full strength in just 24 hours?
When you're working on your project, keep in mind that self-leveling concrete usually takes about 24 to 48 hours to cure completely.
However, it's advisable to refer to the manufacturer's guidelines as some products may require up to a week.
Securing adequate curing time helps prevent cracks and guarantees a smooth, long-lasting surface.
Happy DIY-ing!
Can Self-Leveling Concrete Be Used Outdoors?
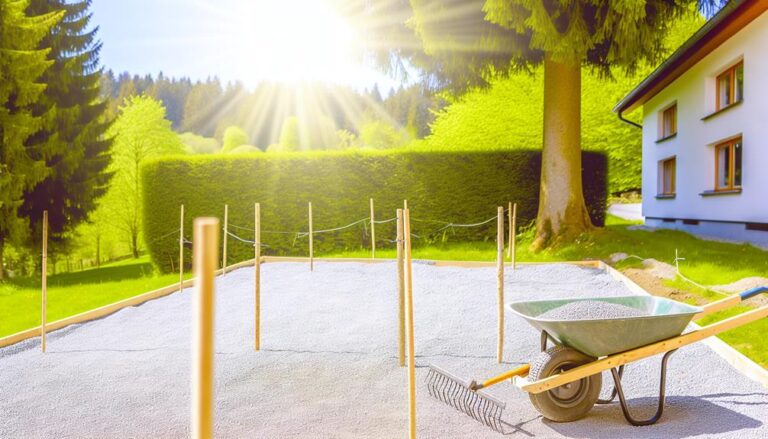
Yes, you can use self-leveling concrete outdoors. It's actually great for patios, driveways, and walkways.
Make sure you choose a product specifically designed for exterior use. Follow the manufacturer's instructions closely, ensuring proper preparation of the surface and adequate protection from the elements while curing.
This will help you achieve a durable, smooth finish that withstands outdoor conditions. Don't forget to seal it for added longevity.
Is Self-Leveling Concrete Safe for Use With Underfloor Heating Systems?
Did you know that 85% of underfloor heating installations use self-leveling concrete? It's entirely safe for underfloor heating systems. You'll find it distributes heat efficiently and guarantees a smooth, even surface.
Just make sure to follow the manufacturer's guidelines for mixing and pouring. Don't forget to allow proper curing time before turning on the heat to avoid any cracks or damage.
It's a dependable choice for your project.
What Is the Cost Comparison Between Self-Leveling Concrete and Traditional Concrete?
When comparing the cost of self-leveling concrete to traditional concrete, you'll find that self-leveling concrete is generally more expensive. The higher price comes from its specialized formulation and ease of application. However, the labor savings and smoother finish can often justify the extra cost.
Traditional concrete is cheaper per bag but requires more effort and time, which can lead to higher labor costs in the long run.
How Do You Repair Mistakes Made With Self-Leveling Concrete?
When you make mistakes with self-leveling concrete, don't worry, there's hope.
First, assess the error: is it a minor bump or a significant uneven area? For small issues, sand them down gently. For larger problems, apply another layer of self-leveling compound.
Remember, patience is key. Fixing these errors isn't impossible, just requires a bit of effort.
You'll soon have that smooth, perfect surface you envisioned.