7 Essential Tips for Leveling Driveways Yourself
Leveling your driveway yourself starts with evaluating the surface for cracks, dips, and high spots. Gather essential tools like a shovel, wheelbarrow, and tamper. Clear debris and fill any holes or cracks for a stable base. Mix high-quality concrete, making sure a thick, uniform consistency is achieved. Apply the concrete starting from the highest point, spreading it evenly to avoid air pockets. Use a screed board to achieve a smooth, level finish. Lastly, allow the concrete to cure properly for a durable result. To master these steps and achieve a professional look, there's more to learn that can make your project successful.
Assess Your Driveway
Before you start any leveling work, carefully examine your driveway to identify uneven areas and potential problem spots. Walk the entire length of your driveway and look for cracks, dips, and raised sections. Pay close attention to areas near drainage systems or where water tends to pool. These spots are often the first to show signs of wear and tear.
Next, take a straight edge, like a long piece of wood or a level, and place it across various sections of your driveway. This will help you identify subtle variations in height that may not be obvious at first glance. Make a note of any areas where the straight edge doesn't lie flat, as these will require extra attention during the leveling process.
Also, keep an eye out for any signs of underlying issues, such as weeds growing through cracks or areas that feel spongy underfoot, which could indicate water damage or soil erosion beneath the surface. Addressing these problems early can save you from more extensive repairs later on.
Gather Necessary Tools
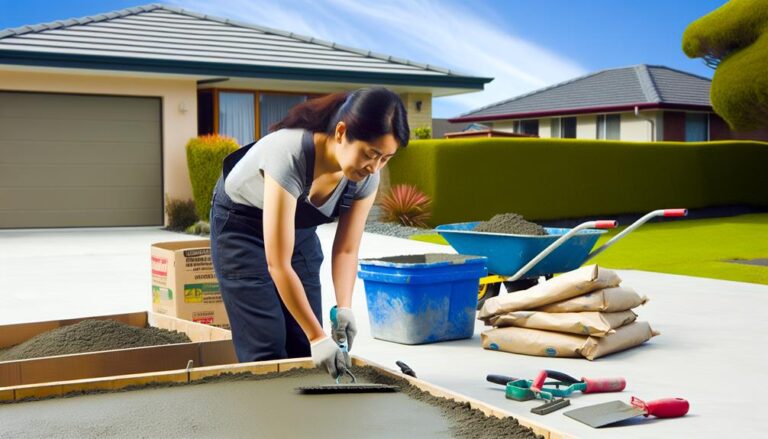
You'll need to gather necessary tools like a shovel, wheelbarrow, and tamper to begin the leveling process effectively. The shovel is crucial for moving and spreading gravel or soil. Choose a durable, ergonomic shovel to make the job easier on your back and arms.
The wheelbarrow will help you transport materials like gravel or dirt from one area to another without much hassle. Make sure your wheelbarrow is in good condition, with a solid tire and a smooth handle for easier maneuvering.
The tamper is essential for compacting the driveway material, ensuring a stable and level surface. You can use a manual hand tamper for smaller areas, but consider renting a mechanical plate compactor for larger driveways. This will save you time and energy.
Additionally, you'll want a sturdy rake to smooth out the gravel or soil and a long, straight 2×4 board to check for levelness. A carpenter's level will also come in handy to guarantee your driveway is even. Finally, having a pair of work gloves will protect your hands during the process.
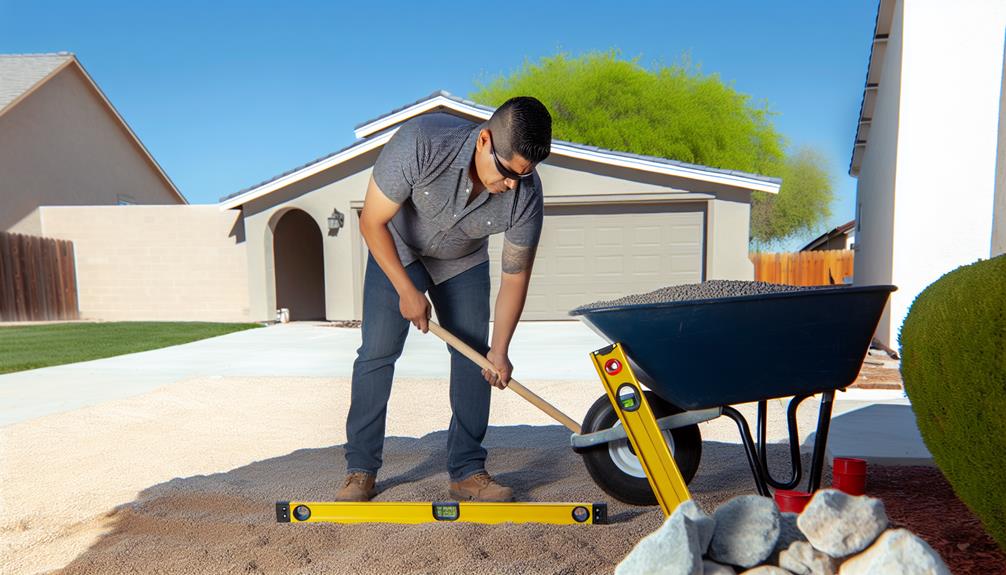
Prepare the Surface
Start by removing any debris or obstacles from the driveway surface to guarantee a clean working area. This step is essential as it ensures you're not working over any hidden objects that could cause issues later. Use a broom, or better yet, a power washer to eliminate dirt, leaves, and other debris thoroughly.
Next, examine the surface for any cracks or potholes. Small cracks can be cleaned and filled with a crack filler, while larger potholes might need additional preparation. If you don't address these imperfections, they could compromise the leveling process.
Here's a quick guide to help you stay organized:
| Task | Tools Needed | Time Estimate |
|---|---|---|
| Clear debris | Broom, power washer | 30-45 minutes |
| Inspect for cracks and holes | Flashlight, chalk | 15-30 minutes |
| Fill small cracks | Crack filler, putty knife | 20-40 minutes |
| Prepare potholes | Shovel, gravel | 30-60 minutes |
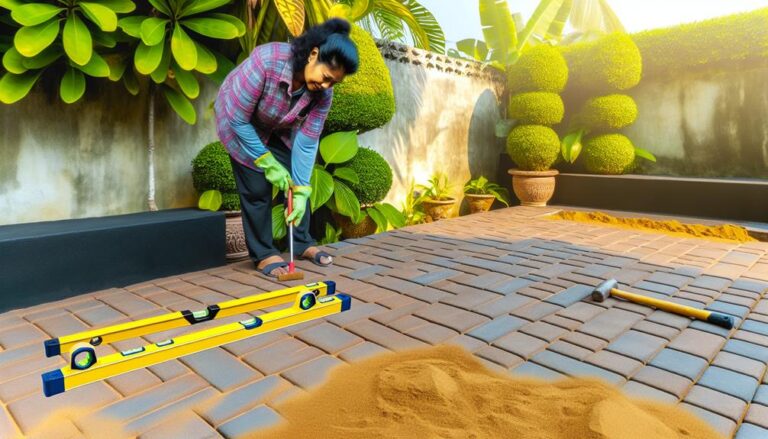
Lastly, compact the soil or gravel in any holes to create a stable base. You can use a hand tamper for small areas or rent a plate compactor for larger sections. By preparing the surface diligently, you'll set a solid foundation for the next steps in the driveway leveling process.
Mix the Concrete
Once the surface is prepared, gather your materials to mix the concrete. For a successful mix, you'll need a few necessary items. Here's a quick checklist:
- Concrete mix: Choose a high-quality mix suitable for driveways.
- Water: You'll need clean water to activate the concrete mix.
- Mixing container or wheelbarrow: A sturdy container is vital for an even mix.
- Mixing tools: A hoe or a mechanical mixer can make the job easier.
Start by pouring the concrete mix into your container. Gradually add water to the mix. It's important to follow the manufacturer's instructions on the concrete bag for the correct water-to-mix ratio. Too much water can weaken the concrete, while too little will make it unworkable.
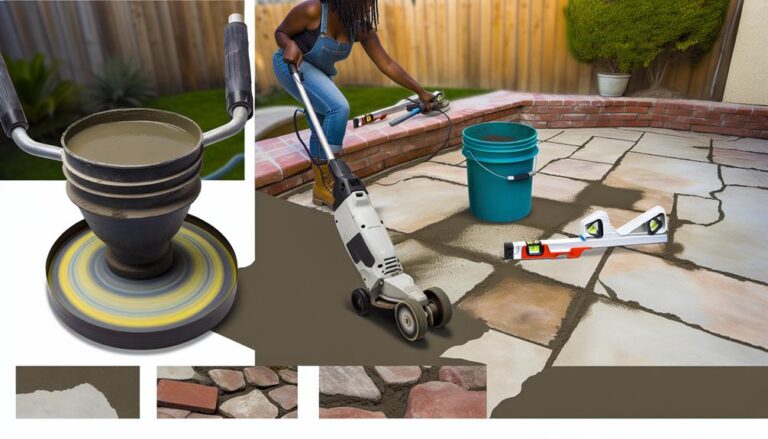
Using your mixing tool, blend the mixture until it achieves a uniform consistency. You're aiming for a thick, oatmeal-like texture. Be thorough to make sure no dry pockets remain. Consistent mixing helps you achieve a durable and even surface.
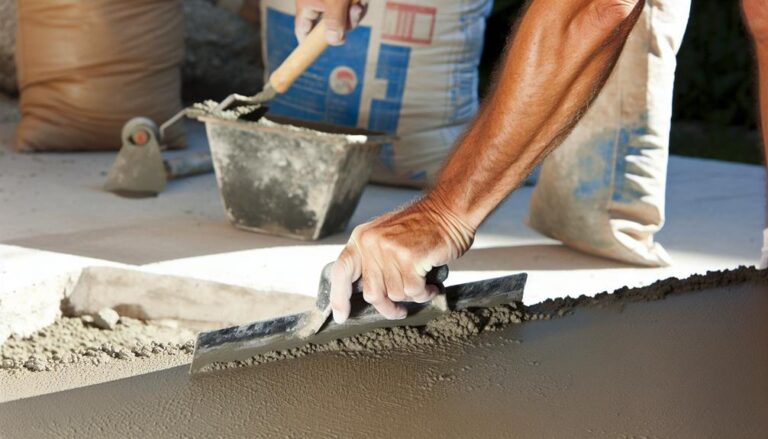
Apply the Concrete
Spread the concrete mixture evenly over the prepared surface to guarantee a smooth and level driveway. Start by pouring the concrete at the highest point of your driveway and let gravity help you. Use a shovel or a concrete rake to distribute the mixture. Make sure you're wearing gloves and sturdy boots for safety. Work methodically, making sure every corner and edge is covered.
While spreading, avoid creating air pockets by tapping the concrete gently. It's essential to maintain a consistent thickness throughout the driveway. If you encounter any low spots, add more concrete and smooth it out. Keep an eye on the time, as concrete begins to set fairly quickly.
Once you've evenly distributed the concrete, use a screed board to level it out. Holding the board at each end, drag it across the surface in a sawing motion. This helps remove any excess concrete and fills in any gaps.
Always check your work as you go along, correcting any inconsistencies immediately. Proper application of the concrete sets the foundation for a durable and aesthetically pleasing driveway, so take your time and make sure every step is done accurately.
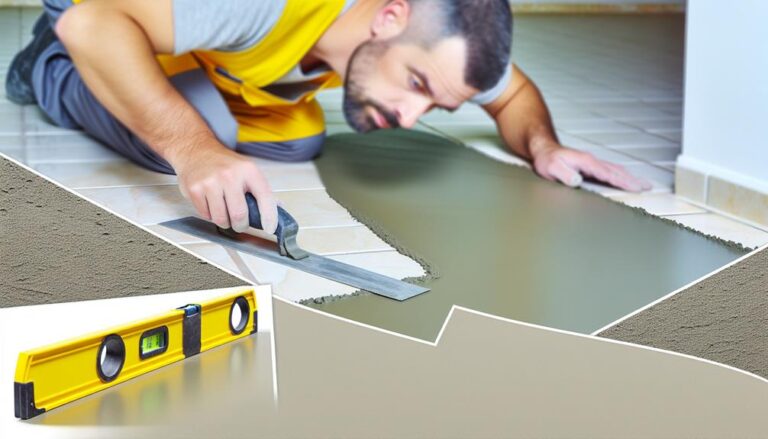
Smooth and Level
With the concrete applied, now focus on meticulously smoothing and leveling the surface to achieve a professional finish. Use a screed, a long, straight board, to even out the concrete by dragging it across the surface. This will help to remove excess material and fill in any low spots. Once the leveling is complete, let the concrete settle for a few minutes before proceeding.
Next, consider using a bull float. This tool helps to further smooth the surface and push down any aggregate to create a more uniform finish. Glide the bull float back and forth across the concrete, making sure you overlap your passes to avoid lines.
Here are some key steps to follow:
- Edge the driveway: Run an edger along the sides to create clean, defined edges.
- Use a trowel: For a finer finish, use a steel trowel to smooth out any remaining imperfections.
- Check for evenness: Use a long level or a straight board to ensure the concrete is level.
- Texture the surface: If needed, apply a broom or brush to add traction and prevent slipping.
Allow to Cure
Let the concrete cure properly to ensure the driveway's strength and durability. Once you've smoothed and leveled the surface, it's essential to allow enough time for the concrete to cure. This isn't just about waiting; it's about ensuring that the concrete reaches its full potential regarding strength and longevity.
To start, keep the surface moist. You can do this by lightly spraying it with water or covering it with a damp cloth. This helps the curing process by preventing the concrete from drying out too quickly, which could lead to cracks and weaknesses. If it's hot and sunny, consider using a curing compound or a plastic sheet to retain moisture.
Next, avoid any heavy traffic on the driveway for at least a week. Even if it seems dry, the concrete needs time to harden internally. Light foot traffic is usually okay after 24-48 hours, but keep vehicles off for at least a week.
Frequently Asked Questions
How Do I Handle Drainage Issues in My Driveway?
To handle drainage issues in your driveway, you'll need to maintain proper slope. Aim for a gradient that directs water away from your home.
Install trench drains or French drains along the driveway to catch runoff. Check for any low spots and fill them with gravel or concrete.
Regularly clean your drains to prevent blockages. Taking these steps will keep your driveway dry and prevent water damage.
What Type of Sealant Should I Use After Leveling the Driveway?
When it comes to sealing your driveway, think of it like putting the cherry on top of a sundae. You'll want to use an asphalt-based sealant for durability and protection. These sealants are great at repelling water and withstanding harsh weather.
Just make sure you follow the manufacturer's instructions closely. Applying the sealant properly will keep your driveway looking fresh and extend its lifespan. Don't skip this important final step!
Can I Level My Driveway if It's on a Slope?
Yes, you can level your driveway even if it's on a slope.
You'll need to take extra precautions to ensure proper drainage and stability. Start by evaluating the slope's severity and plan for any necessary retaining walls or drainage systems.
Use suitable materials like gravel and compact them well.
It's a bit more challenging than a flat driveway, but with careful planning and execution, you can achieve a smooth, even surface.
How Do I Prevent Cracks From Forming in the Future?
Prevent future cracks by practicing proper preparation. Compact the soil thoroughly and choose quality materials.
Consider adding a concrete mix with fibers for extra strength. Seal the surface annually to minimize moisture infiltration.
Make certain you've got a good drainage system to divert water away. Don't overlook to fill small cracks immediately to stop them from spreading.
This way, you'll guarantee your driveway stays durable and beautiful.
What Is the Best Time of Year to Level a Driveway?
The best time of year to level a driveway is during the late spring or early summer. You'll find that the ground is more stable and easier to work with.
Avoid doing it during the rainy season or winter, as moisture and freezing temperatures can complicate the process. Dry, warm weather guarantees that the materials set properly and offers ideal conditions for a smooth, long-lasting driveway.