Pro Tips for Perfect Self Leveling Concrete
For perfect self-leveling concrete, start by gathering essential tools like a mixing paddle, gauge rake, and safety gear. Clean and dry your surface, removing any grease. Fill any cracks and apply a primer for good adhesion. Follow the manufacturer's instructions for mixing the concrete, using the right water amount, and mix thoroughly. Act fast as the concrete sets quickly. Pour and spread it evenly with a gauge rake, then smooth out high spots with a trowel. Allow the sealer to dry thoroughly and avoid heavy objects during this period. Keep these steps in mind for a flawless finish. You'll master self-leveling concrete soon enough.
Gather Essential Tools
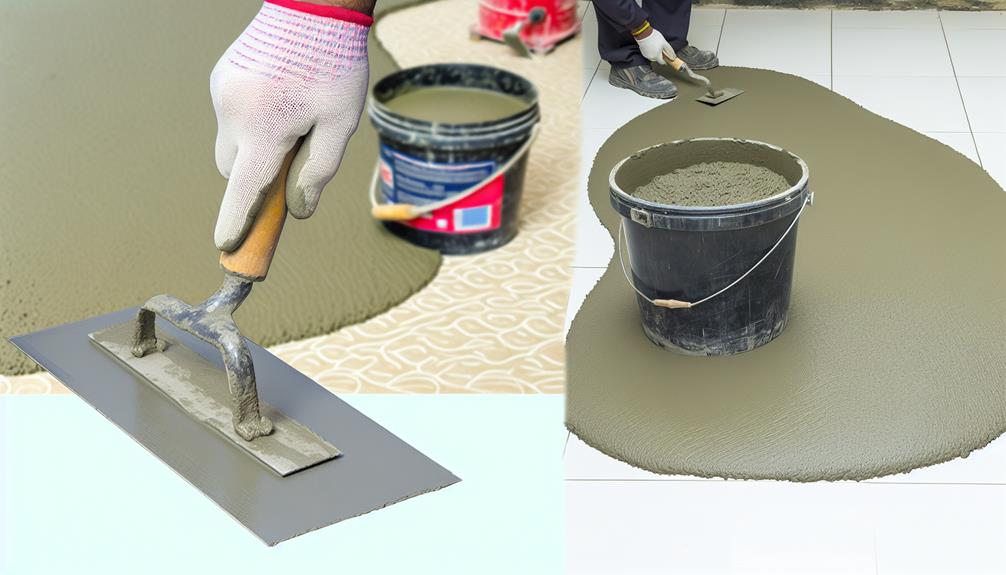
Before you start with self-leveling concrete, make sure you gather all the necessary tools for the job. First, you'll need a mixing bucket and a powerful drill with a mixing paddle attachment. These are essential for blending the concrete to a smooth, lump-free consistency. Without these, you'll struggle to get the right mix.
Next, grab a gauge rake and a smoothing tool. The gauge rake helps you spread the concrete evenly across the surface, while the smoothing tool guarantees a flat finish. These tools are vital for achieving a level floor.
Don't forget about safety gear. Put on a pair of gloves, safety goggles, and a dust mask. Self-leveling concrete can be messy and potentially harmful if it comes into contact with your skin or eyes.
A notched trowel will also come in handy for working the concrete into tight spots and ensuring an even spread.
Lastly, have a long-handled squeegee ready to help you push the concrete into corners and edges.
With these tools, you're well-equipped to tackle your self-leveling concrete project confidently and effectively. Make sure you've got everything before you start to avoid any interruptions.
Prepare Your Surface
To ensure a flawless finish, make certain your surface is clean, dry, and free of any debris. Start by sweeping or vacuuming the area thoroughly. Even small particles can impact the leveling process, so take your time to confirm nothing is left behind.
After cleaning, check for any grease or oil stains and remove them with a degreaser. These contaminants can hinder proper adhesion of the self-leveling compound.
Next, inspect the surface for any cracks or holes. Fill these imperfections with a suitable patching compound and allow it to cure completely. Uneven surfaces can lead to an unsteady pour, so it's important to address these issues beforehand.
Once the surface is patched and cleaned, apply a primer. This step is crucial for ensuring the self-leveling concrete bonds well to the substrate. Pour the primer into a paint tray and use a roller to apply an even coat across the entire surface. Make sure to follow the manufacturer's instructions regarding drying times.
Lastly, create a boundary to contain the self-leveling concrete. Use painter's tape around edges and doorways to prevent the mixture from spreading beyond the intended area.
Now, you're all set to move on to mixing your concrete properly.
Mix Concrete Properly
With your surface prepped and primed, it's time to mix your self-leveling concrete for the perfect pour. Start by reading the manufacturer's instructions carefully; every product has its own specific mixing ratio and requirements.
Use a clean bucket and the appropriate amount of water. Too much water can weaken the mixture, while too little can make it difficult to work with. Pour the water into the bucket first, then add the self-leveling compound. Using an electric mixer with a paddle attachment, mix the concrete thoroughly.
Aim for a smooth, lump-free consistency. Mix for the recommended time, usually around three to five minutes, to guarantee all components are well combined.
Once mixed, you need to act quickly. Self-leveling concrete starts to set fast, often within 15 to 30 minutes. Pour the mixture onto the primed surface promptly.
Spread it evenly with a gauge rake or a trowel, allowing it to flow and settle naturally. Avoid overworking the material, as this can introduce air bubbles and compromise the finish.
Use Primer for Adhesion
Applying a high-quality primer ensures the self-leveling concrete adheres properly to the substrate. Without primer, you risk the concrete not bonding well, leading to potential cracks and other issues down the line.
Start by cleaning the surface thoroughly to remove any dust, debris, or grease. This step is crucial because any contaminants can interfere with the primer's ability to adhere.
Once the surface is clean, choose a primer that's compatible with both the substrate and the self-leveling concrete. Follow the manufacturer's instructions carefully for mixing and applying the primer. Most primers can be applied with a brush, roller, or sprayer, so pick the one that suits your project best.
Apply the primer evenly, ensuring full coverage of the entire area you plan to pour the concrete. Don't rush this step; a sloppy application can lead to uneven adhesion. Allow the primer to dry completely before moving on to the next step. Drying times can vary, so check the product guidelines.
Apply Concrete Evenly
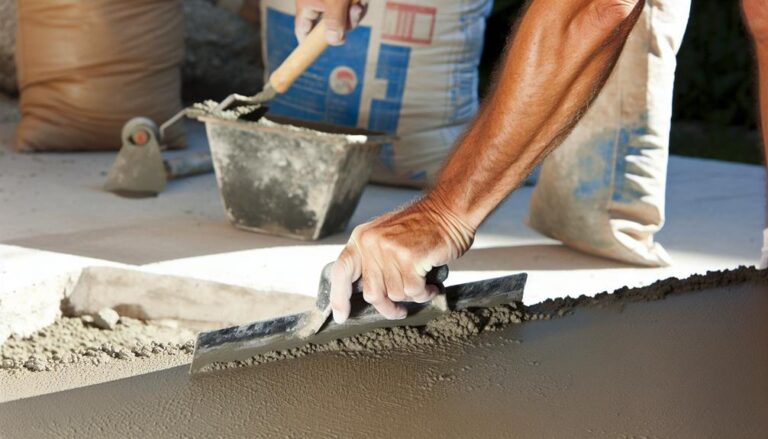
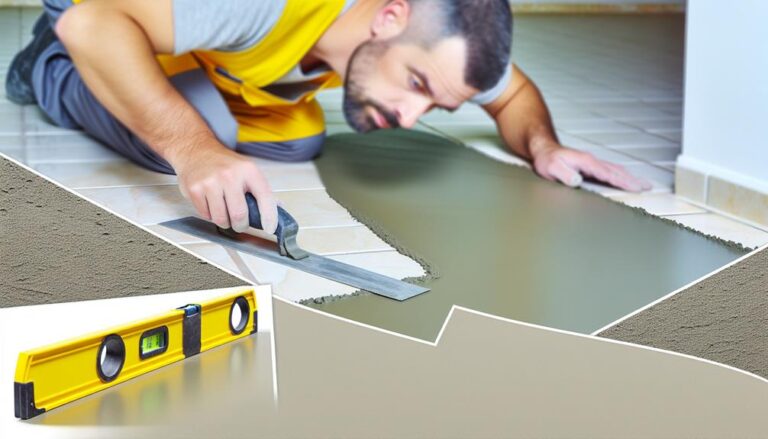
Securing the concrete is applied evenly is crucial for achieving a smooth and level surface. Start by pouring the self-leveling concrete into one corner of the area. Use a gauge rake to help spread the mixture across the floor. A gauge rake is adjustable, allowing you to set the desired thickness. Move steadily, working the concrete back and forth to cover the entire surface.
Next, use a smoother or a trowel to further level the concrete. This tool helps eliminate air bubbles and guarantees the mix is distributed uniformly. Work quickly but carefully, as self-leveling concrete can set rapidly. Keep an eye out for any high spots or dips and adjust accordingly with your smoother.
Sometimes, the concrete might flow unevenly due to obstructions or irregularities in the subfloor. In such cases, gently nudge the concrete with your trowel to guide it into place. Remember, patience and precision are key.
Lastly, check your work from different angles. Changing your perspective can help you spot any imperfections that might've been missed. By following these steps, you'll achieve a perfectly even application, providing a strong foundation for your flooring.
Manage Drying Time
Properly managing the drying time is essential to guarantee the durability and finish of your self-leveling concrete. To achieve the best results, you've got to pay attention to a few critical details.
First, always check the manufacturer's recommended drying time on the product packaging. This will give you a baseline to work from.
Here are four steps to effectively manage drying time:
- Control the environment: Keep the room temperature between 50°F and 90°F. Extreme temperatures can either speed up or slow down the drying process, leading to issues like cracking or uneven surfaces.
- Monitor humidity levels: Aim for a humidity level between 40% and 60%. High humidity can extend drying time, while low humidity can cause the concrete to dry too quickly, potentially resulting in a weaker finished product.
- Allow proper ventilation: Make sure there's adequate airflow in the space. Open windows and use fans if necessary to help the moisture evaporate at a consistent rate.
- Avoid direct sunlight: Direct sunlight can cause the concrete to dry unevenly, leading to a patchy finish. Use shades or tarps to diffuse the light if necessary.
Finish and Seal
To accomplish a smooth and long-lasting surface, you'll need to focus on finishing and sealing your self-leveling concrete. Once the concrete has leveled and dried to a tacky state, use a smoothing tool to remove any imperfections. A trowel or smoother is ideal for this step. Work carefully to avoid creating new ridges or dips.
After smoothing, let the concrete cure completely—usually about 24 to 48 hours, depending on the product and environmental conditions. Once cured, it's time to seal the surface. Sealing protects your concrete from stains, moisture, and wear, extending its longevity. Choose a high-quality sealer that's suitable for your specific application, whether it's for indoor floors or outdoor surfaces.
Apply the sealer with a sprayer or roller, ensuring uniform coverage. Follow the manufacturer's instructions for drying times and apply additional coats as needed. Some sealers require multiple layers for best protection.
After sealing, allow it to dry thoroughly before placing any furniture or heavy objects on it. This final step guarantees that your self-leveling concrete remains in peak condition, providing a flawless, enduring finish.
Following these steps will help you achieve professional results with minimal effort.
Frequently Asked Questions
How Do I Choose the Right Self-Leveling Concrete Product?
When choosing the right self-leveling concrete product, consider the surface type, check the thickness required, and verify the drying time.
Look for a product that matches your project's specifics, ensuring it adheres well and provides a smooth finish.
Read reviews, compare brands, and consult with professionals if needed.
Can Self-Leveling Concrete Be Used on Outdoor Surfaces?
Yes, you can use self-leveling concrete on outdoor surfaces. It's perfect for patios, driveways, and walkways because it creates a smooth, even finish.
Just make sure the product is rated for exterior use and can withstand weather conditions. Proper surface preparation is essential, so clean and prime the area before application.
Follow the manufacturer's instructions closely to achieve the best results.
How Long Does Self-Leveling Concrete Typically Last?
Self-leveling concrete typically lasts a long time, often 20 to 30 years, depending on the conditions and usage. You should guarantee proper installation and maintenance to maximize its lifespan.
If it's exposed to heavy traffic, moisture, or extreme temperatures, it might need more attention. Regularly check for cracks and address them promptly to extend the concrete's durability.
Proper care will keep your surface looking great for decades.
Is It Safe to Install Flooring Directly Over Self-Leveling Concrete?
Yes, you can install flooring directly over self-leveling concrete, but you should make certain it's fully cured and properly prepared.
Make sure the surface is clean, dry, and free of any debris. Check for any imperfections that might impact the flooring installation. If needed, lightly sand the surface to create a better bond.
Follow the manufacturer's recommendations for any additional steps to guarantee a successful and durable flooring installation.
What Are Common Mistakes to Avoid With Self-Leveling Concrete?
Imagine your floor as a blank canvas. You don't want to rush the process or skip prep work. One common mistake isn't cleaning the surface thoroughly, which can cause poor adhesion.
Don't forget to mix the compound well; lumps are like hidden landmines. Also, avoid pouring too quickly, or you'll end up with uneven areas.
Patience and precision are your best tools for a smooth finish.
