Easy Steps to Level Your Driveway
Leveling your driveway is easy when you follow these steps. First, assess the driveway for uneven spots, cracks, and drainage issues. Gather tools like a shovel, rake, wheelbarrow, tamper, and leveler. Clean the surface thoroughly and remove any debris. Prepare the concrete mix by combining cement, sand, gravel, and water, and mix until you get a smooth texture. Pour and distribute the concrete evenly. Use a tamper to eliminate air pockets and verify a flat surface. Keep the concrete moist while it cures. Ready to tackle your driveway project?
Assess the Driveway
Start by strolling the entire length of your driveway to identify any uneven areas or damage. As you walk, pay close attention to cracks, potholes, and sections where the surface dips or rises. These are the spots that will require the most attention when you start leveling. Make mental notes or, better yet, jot down observations on a notepad.
Look for drainage issues as well. Puddles or areas where water tends to accumulate can indicate underlying problems that need addressing. This is important to observe since poor drainage can lead to further damage over time.
Check the edges of your driveway, too. Sometimes grass and weeds can grow into the driveway, causing it to crack or lift. These areas will need to be cleared and possibly reinforced to prevent future issues.
Additionally, inspect the material your driveway is made of—whether it's concrete, asphalt, or gravel. Different materials can have different types of damage. Understanding the specific issues related to your driveway material will help you choose the right approach for leveling.
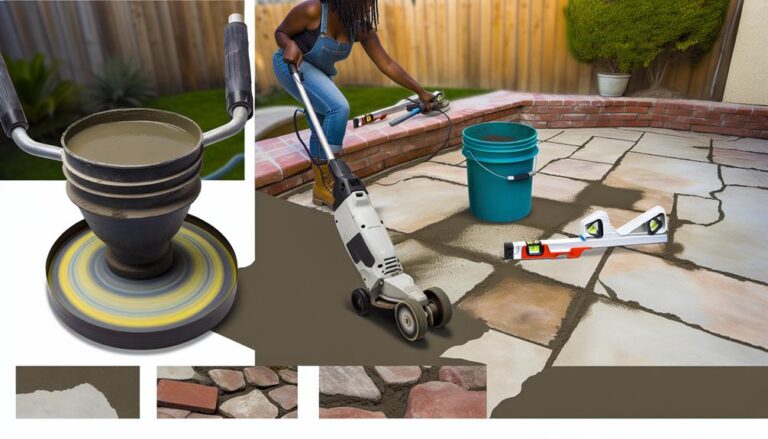
Gather Necessary Tools
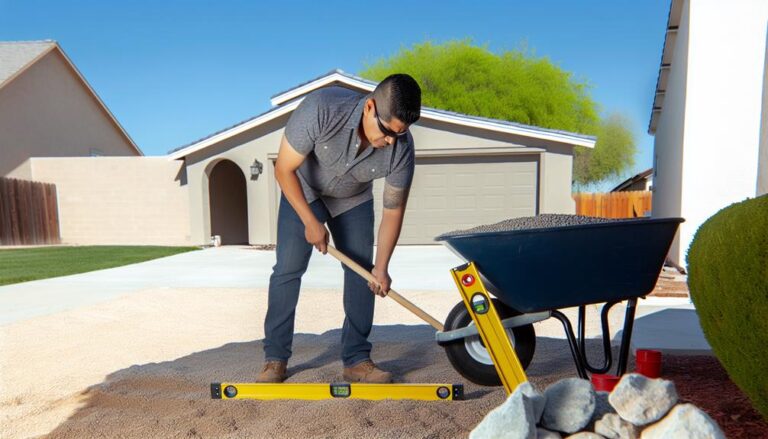
Now that you've identified the problem areas, gather the essential tools for the job. First, you'll need a sturdy shovel to remove any loose debris and to dig out uneven spots. A steel rake is vital for spreading materials evenly and breaking up clumps.
Get a wheelbarrow for transporting gravel, sand, or soil; it's a back-saver.
Next, a tamper is indispensable for compacting the ground. You can use a manual hand tamper or rent a plate compactor if you prefer a powered option.
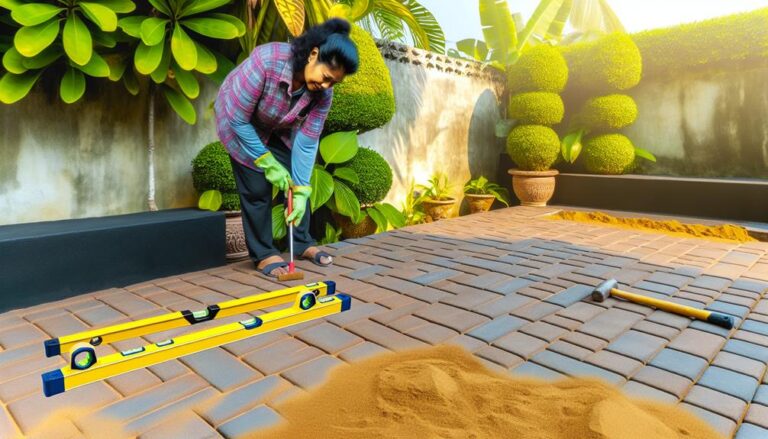
Don't forget a level; a long one will help make sure your driveway is perfectly flat. For measuring, a tape measure and some stakes with string will let you mark out areas that need adjusting.
A hose or a watering can is necessary for moistening the ground before compaction. Consider gathering some safety gear, like gloves and protective eyewear, to keep yourself safe during the process.
Finally, you might need a push broom to smooth out the surface and remove any remaining debris.
With these tools in hand, you're well-equipped to move forward and tackle the task of leveling your driveway.
Clean the Surface
Before you can start leveling, clear the driveway of any debris, dirt, or vegetation. This step is essential to guarantee a smooth and durable finish. Start by removing large objects like fallen branches, rocks, or any other obvious debris.
Next, sweep the surface thoroughly to eliminate smaller particles and loose dirt. If there's any stubborn dirt or stains, use a pressure washer to clean the area effectively. Make sure the driveway is completely dry before moving on to the next step.
Here's a checklist to help you clean the surface efficiently:
- Remove large debris: Pick up branches, rocks, and any other large objects.
- Sweep thoroughly: Use a broom to clear away loose dirt and small particles.
- Pressure wash: Use a pressure washer for stubborn dirt and stains.
- Check for weeds: Pull out any vegetation growing through cracks or edges.
- Allow to dry: Ensure the surface is completely dry before proceeding.
Prepare the Concrete Mix
You'll need to prepare the concrete mix carefully to secure a strong and level driveway. Start by gathering your materials: cement, sand, gravel, and water. Use the following table to measure the correct proportions for your mix:
| Material | Proportion | Example (For 1 cubic meter) |
|---|---|---|
| Cement | 1 part | 300 kg |
| Sand | 2 parts | 600 kg |
| Gravel | 3 parts | 900 kg |
First, mix the dry materials thoroughly. Combine the cement, sand, and gravel in a wheelbarrow or on a flat surface using a shovel. Make sure there are no clumps and the mixture looks uniform.
Next, create a small crater in the middle of your dry mixture. Gradually add water into the crater, mixing continuously. It's crucial not to add too much water at once. The ideal consistency should be neither too runny nor too dry—aim for a peanut butter-like texture.
Keep mixing until the concrete is smooth and workable. Remember, a well-prepared mix sets the foundation for a durable driveway. Once mixed, you're ready to move on to the next step, but make sure your mix is used within 30 minutes to maintain its effectiveness.
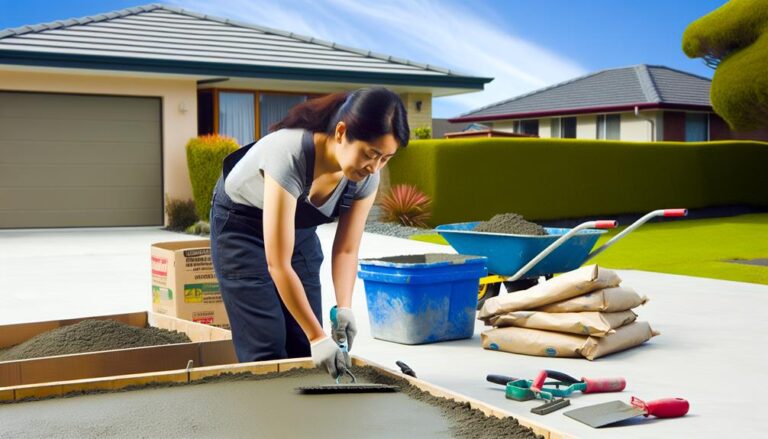
Pour the Concrete
With your concrete mix ready, it's time to pour it onto your prepared driveway surface. Start at one end and work your way to the other, ensuring even coverage. This step is essential for creating a sturdy and level driveway.
As you pour, keep these tips in mind:
- Work Fast: Concrete sets quickly, so you'll need to pour it efficiently to avoid inconsistencies.
- Distribute Evenly: Use a shovel or a hoe to spread the concrete evenly across the surface.
- Check Depth: Make sure the concrete is poured to the desired depth, usually around 4 inches for driveways.
- Avoid Air Pockets: Tap the sides of the form or use a concrete vibrator to eliminate air pockets.
- Keep it Wet: Concrete needs to stay moist during the curing process, so lightly mist the surface if it starts to dry.
Pouring concrete is a physically demanding task, so it might be helpful to have a friend assist you. Make sure to pour continuously to avoid cold joints, which can weaken the driveway.
Once the entire surface is covered, you're ready for the next step—leveling the concrete to achieve a smooth and even finish.
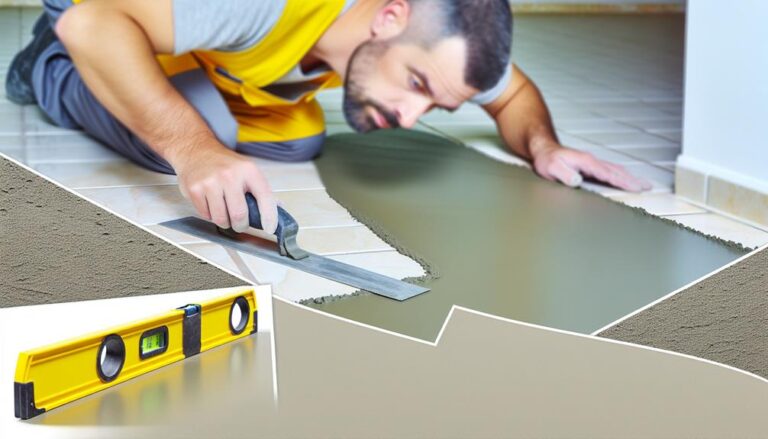
Level the Concrete
Start by screeding the concrete to create a smooth and level surface. Use a straight 2×4 board or a metal screed to drag across the top of the concrete. Work your way from one end of the driveway to the other, making sure to keep the screed level and moving it back and forth in a sawing motion. This will help distribute the concrete evenly and fill in any low spots.
Next, use a bull float to further smooth the surface. Push and pull the float across the concrete, holding it at a slight angle to avoid digging into the fresh mix. This step will bring the cream, or fine cement paste, to the surface, creating a smoother finish.
After floating, it's time for edging. Use an edger tool to create clean, rounded edges along the perimeter of the driveway. This not only looks good but helps prevent chipping.
Cure and Seal the Driveway
Once the concrete is leveled and edged, it's important to let it cure properly to guarantee strength and durability. Curing allows the concrete to reach its maximum potential, safeguarding your driveway for years.
Start by keeping the surface moist. You can do this by misting it regularly with water or covering it with wet burlap or plastic sheeting.
Here are some essential steps to follow:
- Keep it moist: Mist the concrete with water or cover it with damp materials to maintain moisture.
- Wait patiently: Allow the concrete to cure for at least 7 days, though 28 days is ideal for full strength.
- Protect from traffic: Keep cars, pets, and people off the driveway during the curing period.
- Check the weather: Avoid pouring concrete if rain is expected or temperatures will drop below freezing.
- Seal it: After curing, apply a concrete sealer to safeguard against moisture, stains, and de-icing chemicals.
Sealing the driveway after curing adds an extra layer of protection. Choose a high-quality sealer, and apply it evenly with a roller or sprayer. This final step safeguards your driveway remains in excellent condition, protecting your investment for years to come.
Frequently Asked Questions
How Long Does the Entire Driveway Leveling Process Typically Take?
The time it takes to level your driveway usually depends on its size and the extent of the leveling needed. For a small driveway, you might spend a day or two. Larger driveways or those with significant unevenness could take up to a week.
Be certain you've got all the necessary tools and materials ready. Don't rush; taking your time guarantees a smoother, more durable surface.
What Are the Signs That My Driveway Needs Leveling?
You might notice your driveway needs leveling if it has visible cracks, uneven surfaces, or pooling water after rain. These signs indicate that the ground underneath has shifted or settled.
You might also feel a bumpy ride when driving over it. Addressing these issues early can prevent further damage and costly repairs.
Keep an eye out for these signs to maintain a smooth and safe driveway.
Can I Level My Driveway Myself or Should I Hire a Professional?
Oh, absolutely, you can level your driveway yourself—if you fancy a weekend of back-breaking labor and a crash course in civil engineering!
But seriously, unless you've got a bulldozer parked in your garage and a diploma in driveway dynamics, you might want to call in the pros. They'll save you time, effort, and probably a few chiropractor visits.
How Much Does It Cost to Level a Driveway?
The cost to level a driveway can vary widely. You could spend anywhere from $500 to $5,000, depending on factors like the size of your driveway, local labor rates, and the materials used.
If there's significant damage or you need extensive grading, expect to be on the higher end of the spectrum. Always get multiple quotes to make sure you're getting the best price for the job.
What Weather Conditions Are Best for Leveling a Driveway?
You should aim for dry, mild weather when leveling your driveway. If it's too wet, the materials can become muddy and hard to work with.
Extreme heat can also cause issues, making the ground too hard. A cool, dry day is ideal since the ground is more manageable and the materials will set properly.
Avoid rainy days or days with a high chance of precipitation for the best results.