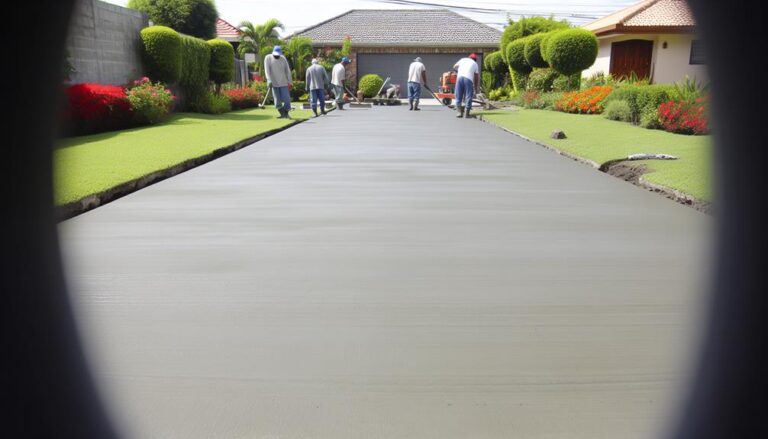
DIY Concrete Leveling for Driveways: Step-by-Step Guide
Leveling your driveway yourself is a straightforward process. First, inspect your driveway for any cracks, dips, or uneven spots. Gather tools like a concrete leveling compound, mixing paddle, trowel, and straight edge. Clean the driveway thoroughly and repair significant cracks with a concrete patch. Mix your concrete following the package instructions until you achieve a smooth consistency. Apply the mix evenly, filling low spots and maintaining a consistent thickness. Use a long-handled screed and bull float to smooth out the surface for a clean finish. Learning these step-by-step tips guarantees you'll handle the job like a pro.
Assessing Driveway Condition
Before you start any concrete leveling, you'll need to thoroughly assess the condition of your driveway. Begin by walking its entire length, looking for visible cracks, dips, or uneven surfaces. Take note of any areas where water pools after rain; these spots usually indicate low points that need attention.
Next, check for signs of deeper structural issues. If you notice large cracks wider than a quarter-inch, or if the concrete appears to be sinking or lifting in multiple spots, you might've underlying problems like soil erosion or tree root intrusion. Use a level to measure the severity of the slope and identify any high or low points.
Don't forget to inspect the edges of your driveway. Weak or crumbling edges can indicate that the concrete is deteriorating and may need more extensive repairs. Also, pay attention to any staining or discoloration, which could signify moisture problems or other underlying issues.
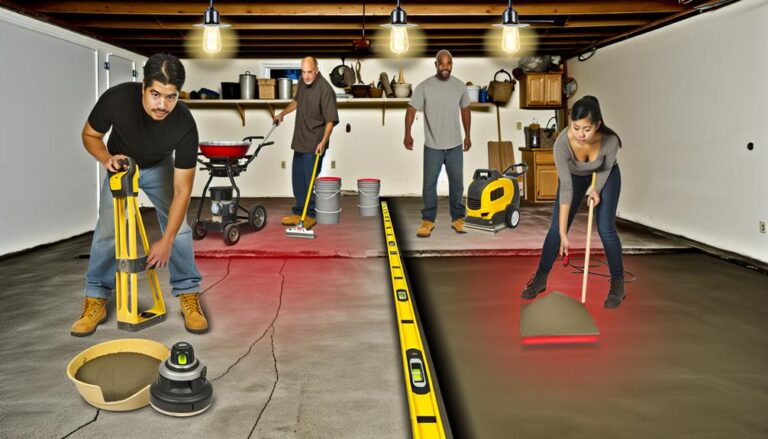
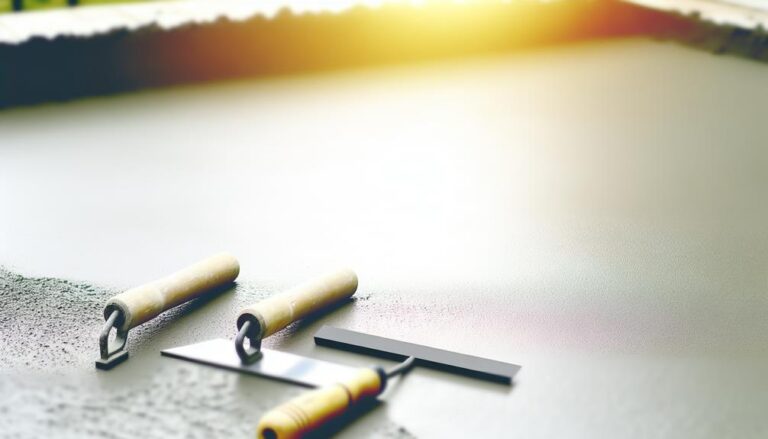
Gathering Necessary Tools
Once you've thoroughly assessed your driveway's condition, gather the necessary tools for the concrete leveling process. First, you'll need a concrete leveling compound, which is crucial for even results. Pick up a mixing paddle that attaches to your drill to guarantee a smooth, lump-free mix. A large bucket will also be necessary for mixing the compound.
Next, grab a trowel or float to spread the mixture evenly across your driveway. You might also want to have a straight edge or a leveling tool to make sure the surface is even and smooth. For larger areas, consider renting a concrete grinder to remove any high spots before applying the leveling compound.
Don't forget safety gear. A pair of sturdy gloves will safeguard your hands, while safety goggles will protect your eyes from dust and debris. A dust mask is also a good idea, especially when dealing with concrete dust.
Lastly, make sure you have a garden hose or a source of water to help with the mixing process and cleaning up afterward. With these tools at hand, you'll be well-prepared to tackle the concrete leveling project efficiently and safely.
Preparing the Driveway
Proper preparation of your driveway guarantees a smooth and long-lasting concrete leveling job. Start by thoroughly cleaning the surface. Use a broom to sweep away any loose debris like leaves, dirt, or gravel. For stubborn stains, employ a pressure washer to make sure the driveway is spotless. Pay extra attention to oil stains; they can interfere with the concrete's adhesion. Use a degreaser if necessary.
Next, inspect the driveway for any significant cracks or holes. Fill these with a concrete patching compound and allow it to cure according to the manufacturer's instructions. This step is vital as it provides a solid base for the new concrete layer. Once patched, check for any uneven spots or high points. Use a grinder or chisel to level out these areas.
Mixing the Concrete
Mixing the concrete accurately is vital for achieving a long-lasting and uniform driveway surface. Start by gathering the necessary materials: concrete mix, water, a mixing container, and a mixing tool. You can use a wheelbarrow and a shovel or rent a concrete mixer for larger jobs. Follow the instructions on the concrete mix bag carefully, as the water-to-mix ratio is essential.
Pour the measured amount of water into your mixing container first. This helps to prevent the dry mix from sticking to the bottom. Gradually add the concrete mix to the water, stirring continuously. This guarantees that the mix is uniform and free of lumps. Continue mixing until the concrete reaches a thick, pancake batter-like consistency. If it's too thick, add a little more water, but be cautious—excessive water can weaken the concrete.
Test the consistency by scooping some concrete and letting it drop off the shovel. It should hold its shape but still be pourable. Once you've achieved the right consistency, you're ready to move on to the next step.
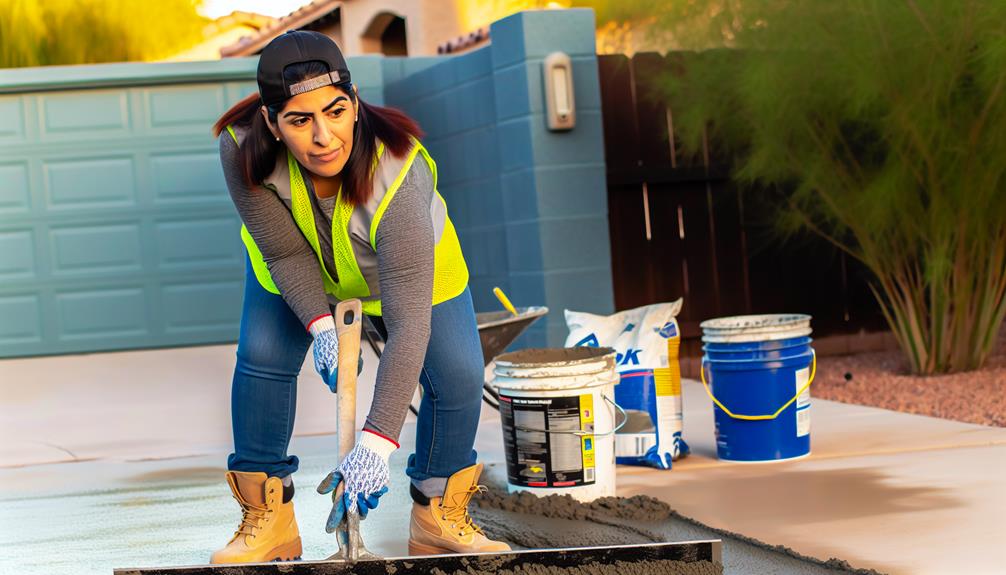
Applying the Concrete
Before applying the concrete, make certain the driveway surface is clean, leveled, and free of debris. Sweep away any dirt and remove loose materials with a stiff brush. If there are any oil stains, use a degreaser to guarantee they don't affect the bonding of the new concrete.
Next, you'll need to prime the surface. A bonding agent will help the new concrete adhere to the existing driveway. Apply the bonding agent according to the manufacturer's instructions and let it sit until it's tacky.
Now, it's time to pour the concrete mix. Start by pouring the mix from one end of the driveway and work your way across. Use a shovel or a concrete rake to spread the mixture evenly. Make certain you fill any low spots and maintain a consistent thickness.
As you spread the concrete, tap the sides of the formwork with a hammer. This helps settle the concrete and removes air pockets, securing a solid, uniform layer.
Work quickly but carefully, as the concrete will begin to set. By maintaining a steady pace, you'll secure an even application without any weak spots.
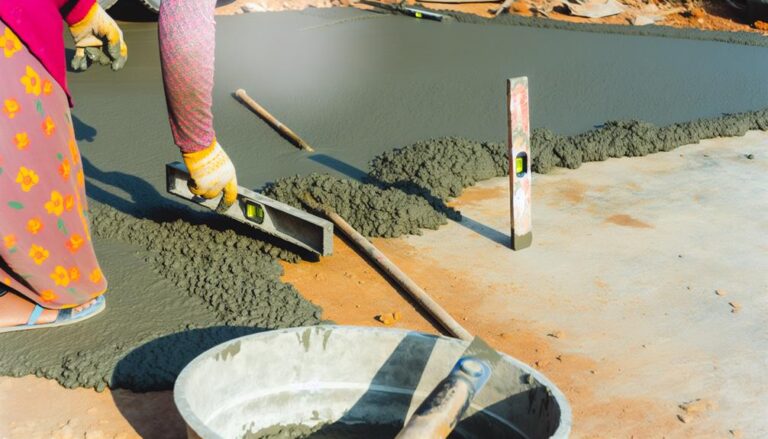
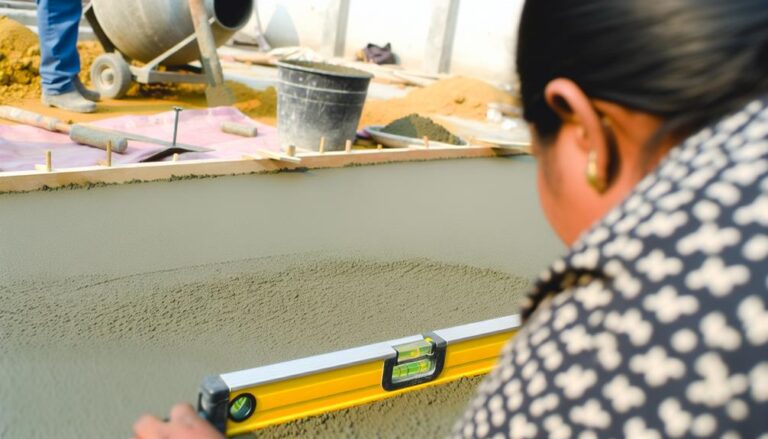
Smoothing the Surface
Once the concrete is poured, you'll need to smooth the surface to secure a professional finish. Start by using a long-handled screed, a straight piece of wood or metal, to level the concrete. Drag it across the surface, working your way from one end to the other. This will help remove excess concrete and fill in any low spots.
Next, grab a bull float, which is a large, flat tool on a long handle, and glide it over the concrete. The bull float pushes down any aggregate and brings the cream, or the fine particles, to the surface. Make sure to overlap your passes to secure an even finish.
After floating, it's time to edge the concrete to create clean, defined borders. Use an edging tool to run along the perimeter. This not only improves appearance but also reduces the risk of chipping.
Curing and Sealing
Now that you've smoothed and edged the surface, it's time to focus on treating and sealing the concrete to guarantee its strength and long-lasting quality. Treating is vital because it ensures the concrete achieves its full durability. Start by covering the surface with a plastic sheet or wet burlap to keep it moist. This step should last for at least 7 days.
After treating, sealing the concrete is necessary to protect it from moisture, chemicals, and wear. Choose a high-quality concrete sealer and apply it using a roller or sprayer. Follow the manufacturer's instructions for the best results. Typically, you'll need to apply two coats, allowing the first coat to dry completely before adding the second.
Here's a quick overview:
| Step | Materials Needed | Duration |
|---|---|---|
| Treating | Plastic sheet, wet burlap | At least 7 days |
| Sealing | Concrete sealer, roller | 1-2 hours per coat |
| Drying | – | 24-48 hours |
Once the sealer is dry, your driveway will be ready for use. Proper treating and sealing will extend the lifespan of your concrete driveway, making all your hard work worthwhile.
Frequently Asked Questions
How Long Will the Leveled Driveway Last?
It depends on several factors, but typically, a leveled driveway can last anywhere from 5 to 10 years.
You'll need to take into account the quality of the materials you used and how well you followed the leveling process. Regular maintenance and keeping an eye out for cracks or shifts can extend its lifespan.
Weather conditions and the amount of traffic your driveway handles also play significant roles in its longevity.
Can I Level My Driveway During the Winter?
Did you know that concrete can lose up to 50% of its strength if poured in freezing conditions?
You can level your driveway during the winter, but you'll face challenges. Cold temperatures can prevent proper curing and bonding.
You'll need to use heaters or insulated blankets to maintain a peak temperature.
It's doable, but extra precautions are essential to guarantee a long-lasting, durable finish.
Are There Eco-Friendly Concrete Leveling Options?
Yes, there are eco-friendly concrete leveling options.
You can use polyurethane foam, which is less invasive and more environmentally friendly than traditional methods.
Another option is to use recycled concrete or fly ash mixtures. These materials reduce waste and carbon footprint.
By choosing these alternatives, you're not only fixing your driveway but also contributing to a more sustainable environment.
What Is the Cost Comparison Between DIY and Professional Leveling?
When comparing the cost of DIY and professional concrete leveling, you'll find that doing it yourself is generally cheaper. DIY kits might cost you around $50 to $300, depending on the materials and tools needed.
On the other hand, hiring a professional can range from $500 to $1,500, influenced by the job's complexity and area size.
Can Concrete Leveling Fix Large Cracks and Holes?
Can concrete leveling fix large cracks and holes?
You might be surprised, but it can help with certain issues.
However, for substantial damage, you'll need more than just leveling.
Filling large cracks and holes often requires a combination of patching compounds and leveling.
If the damage is too severe, you might need professional intervention.