Top 3 DIY Concrete Leveling Tips for Driveways
To level your concrete driveway, start by cleaning the surface thoroughly. Sweep away debris and pressure wash to remove grime, then let it dry completely. Next, use a self-leveling concrete mix: follow the packaging instructions, pour it onto the low spots, and spread it with a trowel. Work swiftly as the mix sets fast. Finally, apply finishing touches by smoothing rough edges with a trowel, sanding high spots, and filling small cracks with a patching compound. Seal the concrete for added protection. Interested in mastering these tips and more? Keep going!
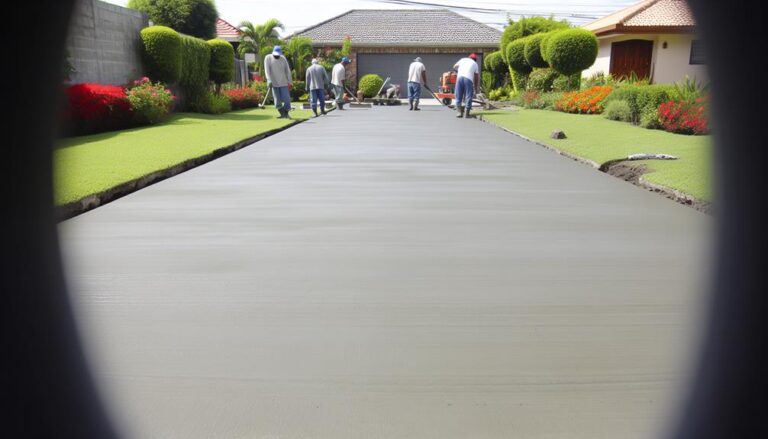
Clean and Prepare the Surface
First, you need to thoroughly clean the driveway to make certain the new concrete adheres properly. Start by sweeping away all loose debris such as leaves, dirt, and small stones. It's important to eliminate anything that could interfere with the bonding process.
Next, use a pressure washer to blast away any stubborn grime or oil stains. Don't skip this step; even small residues can prevent the concrete from sticking.
After pressure washing, let the surface dry completely. Moisture trapped under the new concrete can cause issues later on. While waiting for the driveway to dry, inspect the surface for any cracks or holes. Fill these with a concrete patching compound. This guarantees a smooth, even surface for the new layer of concrete.
Once the patches have dried, brush off any remaining dust and loose particles. A final sweep or vacuum will help make certain no contaminants remain.
Don't forget to tape off any areas you don't want to get concrete on, like adjacent walkways or flower beds. Proper surface preparation sets the stage for a successful concrete leveling project, preventing future problems and ensuring a long-lasting, smooth driveway.
Use Self-Leveling Concrete Mix
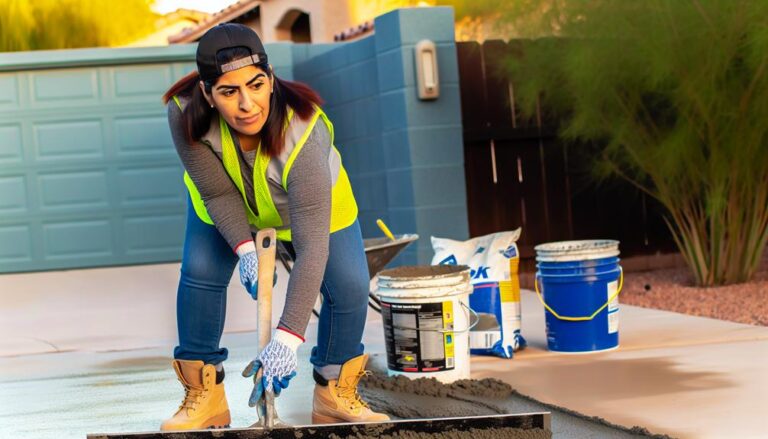
Mixing and applying self-leveling concrete is a straightforward process that guarantees your driveway maintains a smooth, even surface. First, gather your materials: a self-leveling concrete mix, a mixing paddle, and a bucket. Follow the instructions on the concrete mix packaging to ascertain the correct water-to-mix ratio. Typically, you'll add water to the bucket first, then gradually add the mix while stirring. Aim for a lump-free, pancake batter-like consistency.
Once your mix is ready, pour it onto the low spots of your driveway. Gravity will help it flow to the lowest points, leveling itself out. Use a trowel to spread the mix evenly, making sure it fills all gaps and depressions. Work quickly, as self-leveling concrete sets rapidly.
Here's a quick reference to help you through the process:
| Step | Action |
|---|---|
| 1 | Gather materials: mix, paddle, bucket |
| 2 | Mix according to packaging instructions |
| 3 | Pour and spread mix to fill low spots |
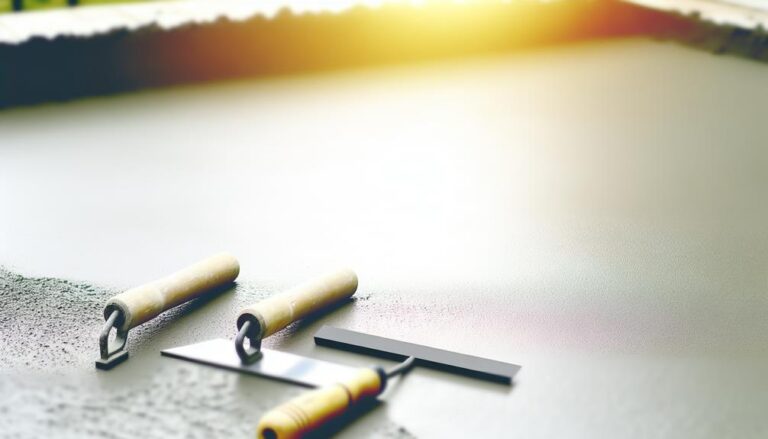
Apply Finishing Touches
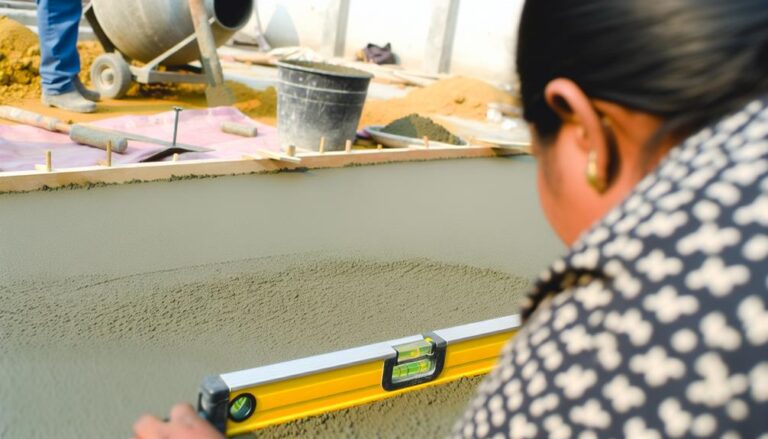
Once the self-leveling concrete has set, give your driveway a polished look by smoothing out any rough edges and ensuring an even surface. Start by using a concrete finishing trowel to gently glide over the surface. Aim to eliminate any minor imperfections and create a seamless finish. If you notice any high spots, lightly sand those areas with a concrete sanding pad.
Next, don't forget to fill in any small cracks or gaps that might've been missed during the initial pour. Using a concrete patching compound, apply it carefully with a putty knife, ensuring it blends well with the surrounding surface. Smooth it out to maintain that uniform look.
After addressing these minor details, it's important to seal the concrete. A high-quality concrete sealer will protect your driveway from moisture, stains, and wear. Apply the sealer evenly with a roller or sprayer, following the manufacturer's instructions. Allow it to dry completely before using the driveway.
Frequently Asked Questions
How Long Does It Take for Self-Leveling Concrete to Cure?
You're wondering how long self-leveling concrete takes to cure, right?
Typically, it takes about 24 hours for it to be walkable, but you should wait at least 48 hours before placing any heavy items on it.
Full curing, where it's completely hardened and ready for all types of traffic, can take up to 7 days.
Always follow the manufacturer's instructions for the best results.
Can I Level a Driveway in Cold Weather?
They say 'timing is everything,' and that's especially true for leveling a driveway.
You can level a driveway in cold weather, but you've got to take extra precautions. Make sure the temperature stays above freezing during the entire curing process. Use heaters or insulated blankets to keep the concrete warm.
Cold weather can slow down curing, so plan for a longer wait time before using your driveway.
What Tools Are Essential for DIY Concrete Leveling?
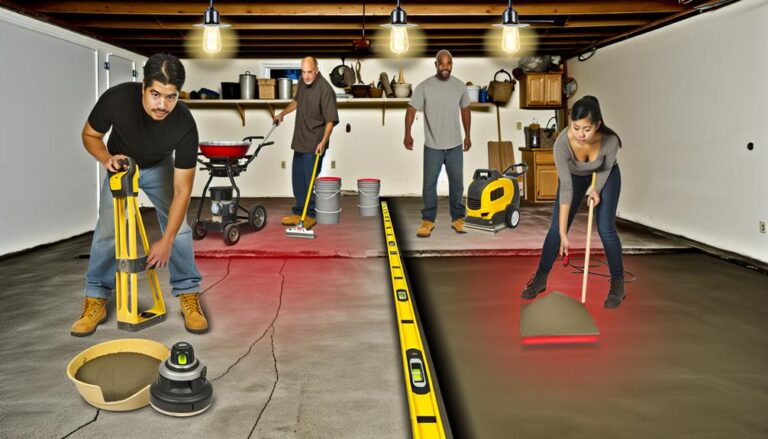
You'll need some important tools for DIY concrete leveling.
First, grab a concrete grinder to smooth out uneven areas.
You'll also need a long level or a straightedge to check for flatness.
A trowel is handy for spreading and smoothing the leveling compound.
Don't forget a mixing bucket and paddle drill to mix your compound evenly.
How Do I Fix Large Cracks Before Leveling?
Think of large cracks as the Grand Canyon of your driveway. First, clean out debris and loose materials.
Then, apply a concrete filler or patching compound, making sure to overfill slightly. Smooth it out with a trowel.
Once it's dry, sand it down to match the surrounding surface. Now you're ready to level the entire driveway, ensuring a smooth, even finish.
Don't rush; patience is key for a flawless result.
Is It Necessary to Seal the Concrete After Leveling?
Yes, you should definitely seal the concrete after leveling. Sealing helps protect the surface from moisture, chemicals, and wear. It prolongs the lifespan of your driveway and maintains its appearance.
After leveling, let the concrete cure properly, then choose a high-quality sealer. Applying it's straightforward; just follow the manufacturer's instructions.
Don't skip this step if you want your hard work to last!