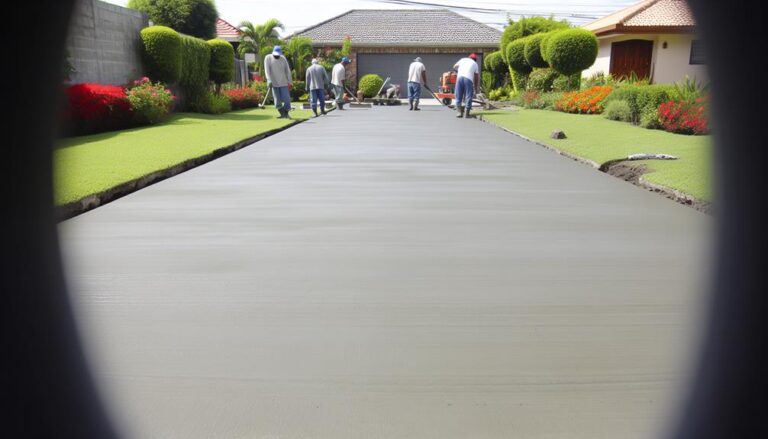
Top 10 Tips for Concrete Leveling Success
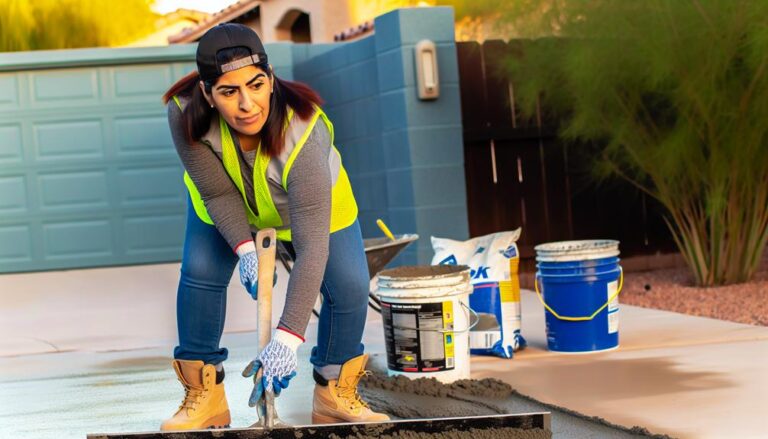
For concrete leveling success, start with thorough preparation by inspecting and cleaning the area. Choose the right tools, like a high-quality leveling compound and trowel. Mix your concrete correctly, maintaining the proper ratio for strength. Address any moisture issues, using a moisture meter and applying barriers if needed. Always apply primer before the leveling compound for better adhesion. Employ correct troweling techniques to achieve a smooth surface. Allow proper drying time, securing the surface cures properly. Finally, conduct quality assurance checks to secure uniformity and smoothness. Stick around to discover more about mastering these steps to perfection.
Preparation Is Key
Before commencing any concrete leveling project, make sure you thoroughly inspect the area to identify all potential issues. Look for cracks, uneven surfaces, and any signs of water damage. It's essential to pinpoint every problem spot because even minor imperfections can affect the final result.
Walk around the area, use a level to check for dips, and take notes on what needs attention.
Next, clean the surface meticulously. Remove any debris, dirt, or loose concrete that could interfere with the leveling process. A clean workspace guarantees that the leveling materials adhere properly, giving you a smoother finish.
Sweep the area and use a pressure washer if necessary to get rid of stubborn grime.
After cleaning, check for any underlying issues that might cause future problems, such as poor drainage or soil erosion. Addressing these problems beforehand can save you from repeating the leveling process down the road.
If you notice any large gaps or holes, fill them in before you start leveling. This extra step sets a solid foundation for the leveling compound, ensuring it performs at its best.
Choose the Right Tools
Selecting the appropriate tools is crucial for achieving a professional and durable concrete leveling task. Without the correct equipment, you risk uneven surfaces, premature wear, and a lot of wasted time. Here are three essential tools for a successful concrete leveling project:
- Leveling Compound: This is the foundation of your operation. Make certain you select a high-quality leveling compound that's suitable for the type of floor you're working on. Some compounds are tailored for interior use, while others can withstand outdoor conditions.
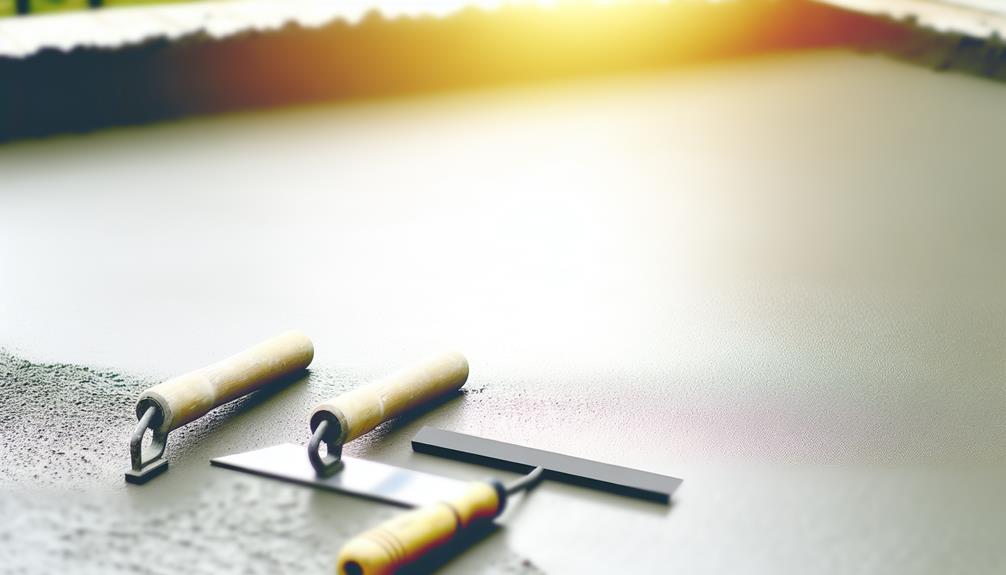
- Trowel: You'll need a reliable trowel to evenly distribute the leveling compound across the surface. A flat trowel is perfect for expansive areas, while a margin trowel can assist you in reaching tight corners and edges with accuracy.
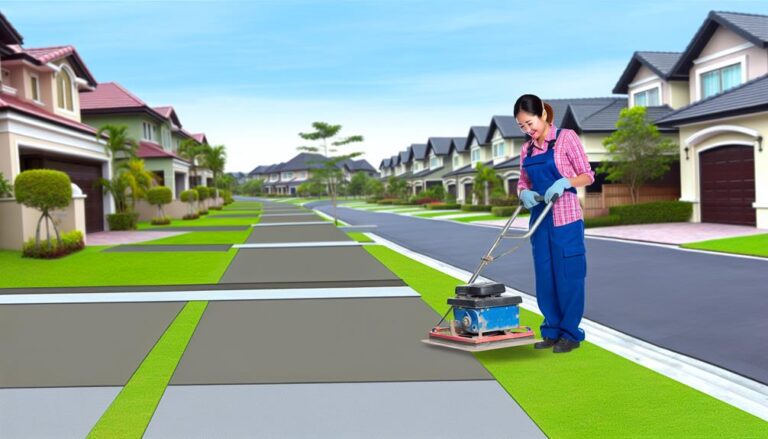
- Screed: A screed is crucial for guaranteeing the surface is perfectly level. You can utilize a manual screed for smaller tasks, but contemplate using a power screed if you're working on a larger area. It accelerates the task and ensures consistency.
Always remember, utilizing the appropriate tools not only simplifies the task but also guarantees a long-lasting, professional outcome. Acquire these essentials before commencing your concrete leveling project to ensure everything progresses smoothly.
Mix Concrete Properly
Properly mixing concrete is essential for achieving a strong and durable surface. Start by gathering all the necessary materials: cement, sand, gravel, and water. The ratio is vital—typically, a mix ratio of 1 part cement, 2 parts sand, and 4 parts gravel works well for most projects. Measure your materials carefully to maintain consistency throughout the mix.
Begin by adding the dry ingredients into a mixing container, such as a wheelbarrow or a large bucket. Use a shovel or hoe to mix these dry components thoroughly before adding water. Make a small crater in the middle of the dry mix, then gradually pour in water while stirring continuously.
It's important not to add too much water at once. You want the mix to reach a thick, workable consistency, like oatmeal. Too much water can weaken the final product, making it prone to cracking. Conversely, too little water can make the mix too stiff to work with.
Once mixed, use the concrete immediately to prevent it from setting too quickly.
Leveling Compound Choice
Choosing the right leveling compound is crucial for achieving a smooth and even concrete surface. With many options available, it can be challenging to determine which one suits your project best. Here's a quick guide to help you make an informed choice.
First and foremost, take into account the type of surface you're working on. Some compounds are formulated specifically for indoor projects, while others are designed for outdoor use. Make sure you choose one that aligns with your environment.
Next, think about the thickness you need. Self-leveling compounds come in various thicknesses, so pick one that matches the depth of the uneven area.
Here are three key factors to keep in mind when selecting a leveling compound:
- Curing Time: If you're in a hurry, opt for a fast-setting compound. Some products cure in just a few hours, allowing you to proceed with your project without long delays.
- Flexibility: For areas that experience temperature fluctuations, choose a compound that offers flexibility to prevent cracking.
- Compatibility: Confirm that the compound is compatible with the type of flooring material you plan to install over the concrete.
Addressing Moisture Issues
Why is it important to address moisture issues before leveling your concrete surface?
Moisture can wreak havoc on your leveling project. If you don't deal with it first, you risk compromising the integrity of your work. Moisture trapped under the surface can cause the leveling compound to weaken, leading to cracking and unevenness over time. The last thing you want is to have to redo the entire job because you skipped this critical step.
Start by thoroughly inspecting the area for signs of moisture, like dark spots or efflorescence. Use a moisture meter to get accurate readings. If you find high moisture levels, you need to take corrective action.
Use a dehumidifier to reduce humidity in the area, and ensure proper ventilation. For persistent issues, consider applying a moisture barrier or sealant to the existing concrete. This will prevent water from seeping up and affecting the new layer.
It's also important to check for plumbing leaks or groundwater issues that could be causing the moisture. Fix any leaks and make sure proper drainage around your building.
Use Self-Leveling Concrete
Once you've addressed moisture issues, it's time to contemplate using self-leveling concrete for a smooth and durable finish. Self-leveling concrete is designed to flow and settle evenly, making it a fantastic choice for both professionals and DIY enthusiasts.
Here's how you can make the most of it:
- Mix Properly: Follow the manufacturer's instructions to a tee. Use the recommended amount of water and mix it thoroughly to avoid lumps. An electric mixer can be a lifesaver here, making sure of a consistent blend.
- Work Quickly: Self-leveling concrete sets fast, usually within 20 to 30 minutes. Have all your tools ready and pour the mix immediately after preparation. Spreading tools like a gauge rake and smoothing paddle will help you achieve an even surface.
- Avoid Air Bubbles: Air bubbles can ruin the smooth finish. After pouring, use a spiked roller to remove any trapped air. This step is essential for a flawless result.
Using self-leveling concrete not only simplifies the process but also guarantees a professional-grade finish. With careful preparation and swift execution, you'll achieve a floor that's both level and long-lasting.
Apply Primer First
Before pouring self-leveling concrete, be sure to apply a primer to guarantee proper adhesion and a smooth finish. Primers create a bond between the existing surface and the new concrete layer, which is essential for preventing cracks and ensuring a long-lasting result. Skipping this step can lead to peeling or uneven surfaces, which will cost you more time and money to fix later.
Start by thoroughly cleaning the surface to remove any dust, debris, or grease that could interfere with the primer's effectiveness. Use a broom or vacuum cleaner to get into all the nooks and crannies.
Once the surface is clean, apply the primer evenly with a brush or roller. Make sure to cover every inch of the area you plan to level. Pay close attention to corners and edges, as these spots are prone to peeling if not properly primed.
Allow the primer to dry completely before proceeding. Drying times can vary, so check the manufacturer's instructions for guidance. Typically, it takes about 2 to 4 hours. Don't rush this step; applying self-leveling concrete on a wet primer can compromise the project's integrity.
Once dry, you're ready to move on to the next steps in your concrete leveling process.
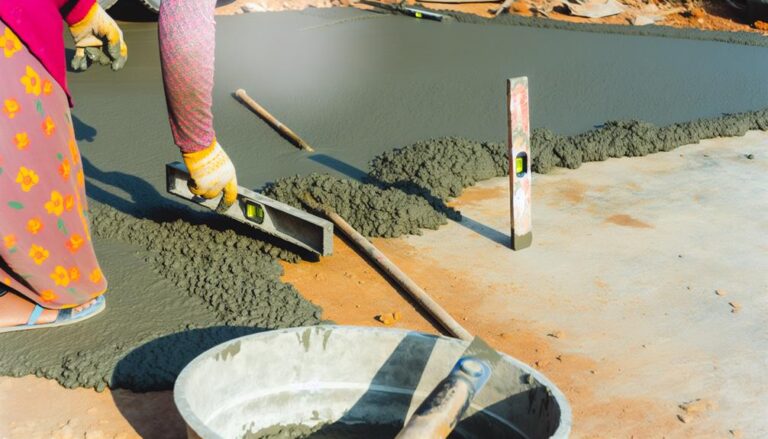
Correct Troweling Techniques
With the primer fully dried, it's time to focus on mastering the correct troweling techniques to secure a smooth and even concrete surface. The key to effective troweling lies in your ability to handle the trowel properly and work systematically across the surface.
First, be sure you're holding the trowel at the right angle. A slight angle, typically around 30 degrees, allows you to spread the concrete efficiently without digging into it. Keep a firm grip but don't apply too much pressure, as this can create uneven patches.
Secondly, use a consistent, sweeping motion to spread the concrete. Avoid erratic movements by following a rhythm that covers the surface uniformly. Start from one end and work your way to the other, securing you overlap each stroke slightly to avoid gaps.
Lastly, remember to clean your trowel regularly. Concrete can build up on the blade, making it harder to achieve a smooth finish. A clean trowel glides effortlessly over the surface, helping you maintain consistency.
Here's a quick recap to keep in mind:
- Hold the trowel at a slight angle.
- Use consistent, sweeping motions.
- Clean the trowel regularly.
Mastering these techniques will make your concrete leveling project a success.
Allow Proper Drying Time
Ensuring the concrete has proper drying time is vital to achieving a durable and crack-free surface. You can't rush this step if you want your project to succeed.
Start by letting the concrete cure for at least 24-48 hours before allowing any light foot traffic. For best results, wait a full week before placing any heavy objects on it.
Concrete needs to cure gradually to reach its full strength. To help this process, keep the surface moist by lightly misting it with water. Covering the area with a plastic sheet or damp burlap can also help retain moisture. This prevents the surface from drying out too quickly, which can lead to cracks and weakened areas.
Temperature plays an essential role in drying time. If it's too cold, the curing process will slow down significantly. On the flip side, hot weather can cause the concrete to dry too fast. In both cases, you'll need to adjust your methods accordingly.
Don't forget to check the manufacturer's guidelines for specific drying times and conditions. Following these instructions will ensure your concrete levels properly and maintains its integrity over time.
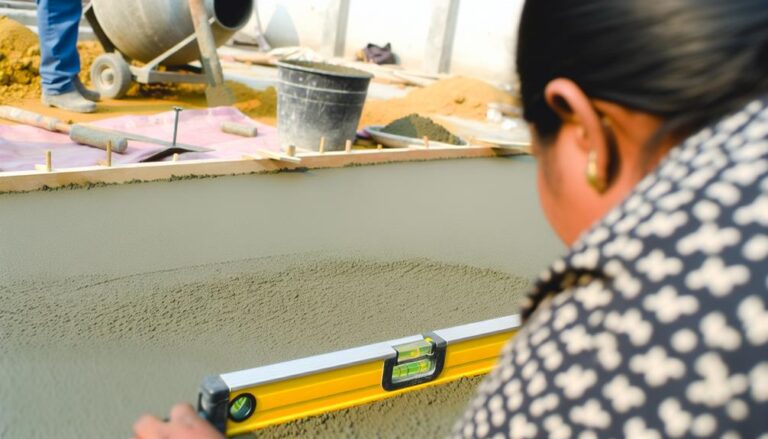
Quality Assurance Checks
To ensure the best results, make certain you perform thorough quality assurance checks throughout the concrete leveling process. This guarantees you catch any issues early and maintain a high standard from start to finish.
Here are some essential steps you can follow:
- Check Surface Cleanliness: Before you start, verify the surface is clean and free of debris. Dirt or grease can prevent the leveling compound from adhering properly, leading to future problems.
- Verify Mix Consistency: Make certain the concrete mix is consistent. If it's too watery or too thick, it won't level correctly. Follow the manufacturer's instructions closely and mix thoroughly to achieve the right consistency.
- Inspect for Uniformity: After pouring and spreading the leveling compound, use a level to check for uniformity. Look for any dips, high spots, or air bubbles. Address these immediately before the compound sets to ensure a smooth, even surface.
Frequently Asked Questions
How Can I Fix Uneven Concrete After It Has Dried?
To fix uneven concrete after it's dried, start by cleaning the surface thoroughly.
Then, use a concrete grinder to level high spots.
For low areas, apply a self-leveling concrete compound, following the manufacturer's instructions.
Let it cure properly.
You might need to sand the surface slightly after it dries.
Make sure you wear protective gear throughout the process.
This approach will help you achieve a smooth, even finish.
What Are Common Mistakes to Avoid in Concrete Leveling?
When you're leveling concrete, avoid rushing the process. Don't ignore surface prep; clean and prime it properly.
Using too much water in the mix weakens the concrete, so stick to the recommended ratios.
Don't skip the curing process; it's essential for strength.
Finally, avoid leveling in extreme temperatures, as it affects the concrete's setting.
How Long Should I Wait Before Walking on Newly Leveled Concrete?
You absolutely must wait at least 24-48 hours before walking on newly leveled concrete. It's not just a suggestion; it's a rule as solid as the concrete itself!
This waiting period guarantees the surface sets properly, preventing cracks and imperfections. If you step on it too soon, you'll risk ruining all your hard work.
Can I Level Concrete in Cold Weather Conditions?
Yes, you can level concrete in cold weather conditions, but you need to take extra precautions. Make sure the temperature is above freezing and the ground isn't frozen.
Use additives to speed up curing and consider using insulated blankets to keep the concrete warm.
You'll also want to check the weather forecast to avoid any sudden temperature drops that could negatively affect the curing process.
What Are the Signs That Concrete Leveling Is Needed?
When you see cracks forming or notice uneven surfaces, it's a red flag that concrete leveling is needed.
If water pools in certain areas or doors and windows stick, those are telltale signs too.
Don't wait until the cows come home to address these issues, as they can get worse over time.
Keep an eye out for these indicators and act quickly to maintain a safe and level surface.