Top 3 Expert Tips for Slab Leveling Success
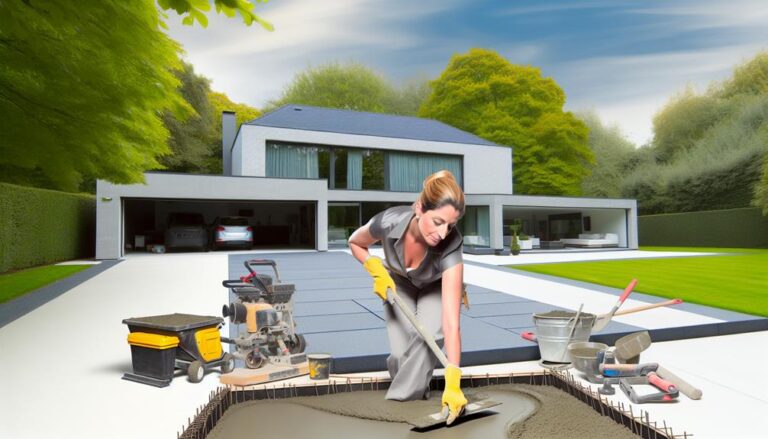
To achieve slab leveling success, start with a thorough slab assessment. Check for cracks, uneven spots, and poor drainage using a straightedge and hammer. Next, choose high-quality materials. Select a self-leveling compound and primer that match your slab type for a smooth finish. Lastly, ensure proper technique. Clean the surface well, mix compounds accurately, and apply in small sections using a trowel or squeegee. Let it cure fully as per guidelines. Master these steps, and you'll lay a perfectly leveled slab—there's more to the process that can enhance your results even further.
Assess the Slab Condition
Before you start any slab leveling project, you need to thoroughly assess the slab's condition. Start by examining the entire surface for visible cracks, uneven areas, or any signs of sinking. A detailed inspection will help you determine the extent of the damage and identify the root cause. Don't forget to check the surrounding areas, as issues like poor drainage or soil erosion can contribute to slab problems.
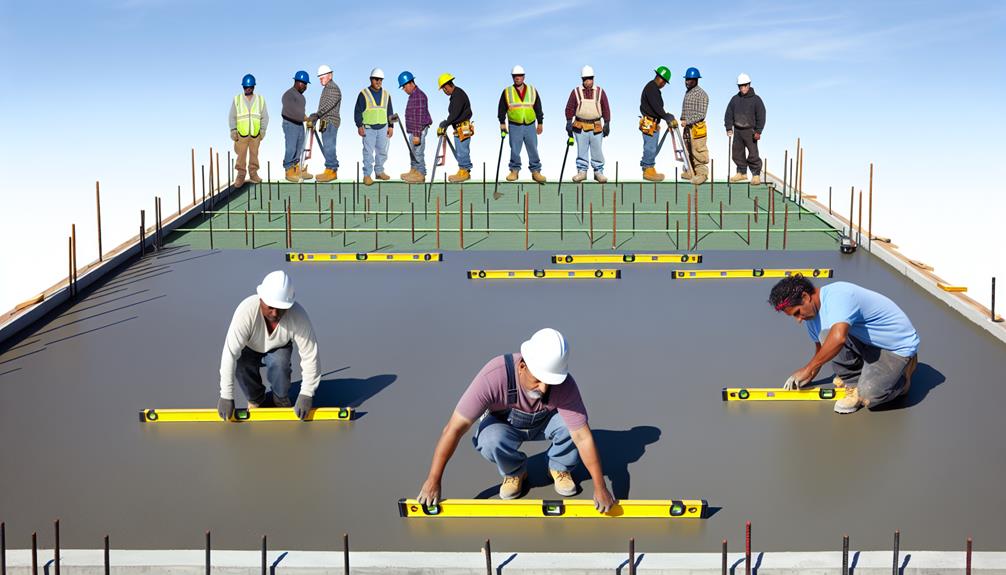
Next, measure the levelness of the slab using a straightedge or a level. Place the tool across different sections of the slab to identify low spots or high points. Accurate measurements are essential for planning the leveling process effectively. You can also use a laser level for more precise readings.
Additionally, tap the slab with a hammer to listen for hollow sounds, which could indicate voids or weakened areas beneath the surface. Identifying these weak spots early will help you address them properly and prevent future issues.
Choose the Right Materials
Once you've thoroughly assessed the slab's condition, selecting the right materials becomes your next critical step for a successful leveling project. Start by choosing a high-quality self-leveling compound. This compound will guarantee a smooth, even surface. Make sure it's compatible with the type of slab you're working on, whether it's concrete, wood, or another material. Don't skimp on quality here; investing in a premium product will save you headaches down the line.
Next, consider the primer. A good primer will enhance the bond between the slab and the leveling compound, securing a durable finish. Opt for a primer that's specifically formulated for your self-leveling compound and slab type. This will prevent issues like peeling or cracking later on.
Additionally, gather the right tools. You'll need a mixing paddle, a bucket, and a trowel. The mixing paddle guarantees your compound is well-blended, while the trowel helps you spread it evenly. Using the right tools makes the job easier and more efficient.
Lastly, don't forget to check the manufacturer's instructions. Each product has specific requirements for mixing and application. Following these guidelines guarantees you get the best results and avoid costly mistakes.
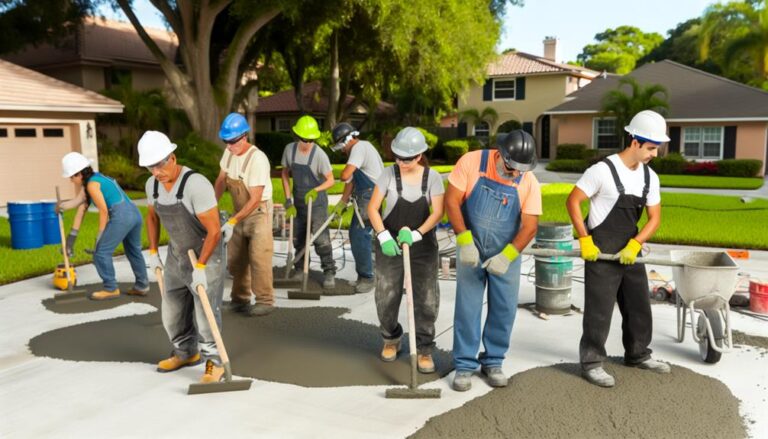
Implement Proper Techniques
Mastering proper methods is fundamental for guaranteeing your slab leveling project is both efficient and effective. When you're on the job, attention to detail and using the appropriate methods can make all the difference.
Here are some key techniques to focus on:
- Surface Preparation: Begin by thoroughly cleaning the slab surface to eliminate dirt, debris, and loose materials. This secures better adhesion and a smoother finish.
- Mixing Accuracy: Follow the manufacturer's instructions for blending leveling compounds. Consistency is essential to avoid weak spots or cracks.
- Application Approach: Utilize the correct tools, such as a trowel or squeegee, to distribute the leveling compound evenly. Work in small sections to maintain control and prevent uneven drying.
- Curing Period: Allow the compound to cure in accordance with the product guidelines. Hastening this stage can jeopardize the integrity of the slab.
Frequently Asked Questions
How Can I Identify Early Signs of Slab Settling or Unevenness?
You can identify early signs of slab settling or unevenness by looking for small cracks in the floor or walls, doors and windows that stick or don't close properly, and noticeable dips or slopes in the flooring.
Also, pay attention to any new gaps between the slab and walls or baseboards. Catching these signs early helps you take action before the problem worsens, saving you time and money.
What Are Some Common Causes of Slab Sinking?
Did you know that around 80% of slab sinking issues are due to soil problems? Common causes include poor soil compaction, erosion, and expansive clay.
When the soil beneath your slab isn't compacted properly, it can settle over time, causing your slab to sink. Erosion from water drainage and expansive clay that swells and contracts with moisture changes can also lead to significant slab movement.
Keep an eye on these factors to prevent issues.
Are There Eco-Friendly Options for Slab Leveling?
Yes, there are eco-friendly options for slab leveling! You can use polyurethane foam instead of traditional mudjacking. This method is less invasive and uses fewer natural resources.
Another option is to opt for recycled materials in the leveling process. By choosing these methods, you're not only fixing your slab but also helping the environment.
Always ask your contractor about green alternatives to make an informed decision.
How Much Does a Typical Slab Leveling Project Cost?
You're probably wondering about the cost of a typical slab leveling project. Generally, it can range from $500 to $1,500 depending on the size of the slab and the extent of the damage.
If you've got a larger area or more severe issues, it might cost more. Always get multiple quotes to guarantee you're getting a fair price.
Don't forget to factor in any additional repairs that might be needed.
How Long Does It Take for a Slab Leveling Project to Complete?
You might think slab leveling takes forever, but it's quicker than you'd expect. Typically, a slab leveling project can be completed in just a few hours to a couple of days, depending on the size and condition of the slab.
If you're worried about disruptions, rest assured, professionals can get the job done efficiently. You'll have a stable, level surface in no time, minimizing any inconvenience.